
Fursuit Cuffs
Here's how to make some super simple but effective cuffs! These were demonstrated on a set of unlined handpaws, but this tutorial can be applied to feetpaws, armsleeves, or bodysuits. It's entirely possible to add a cuff to a finished part, but I find it a lot easier to plan ahead and install it before my parts are fully assembled. If you're making fully lined paws, you will get a more seamless look if you add your cuff towards the end.
I like using minky fabric on my handpaws, but any non-fraying fabric works best! The purpose of a cuff is to protect the edge from fraying and unraveling.
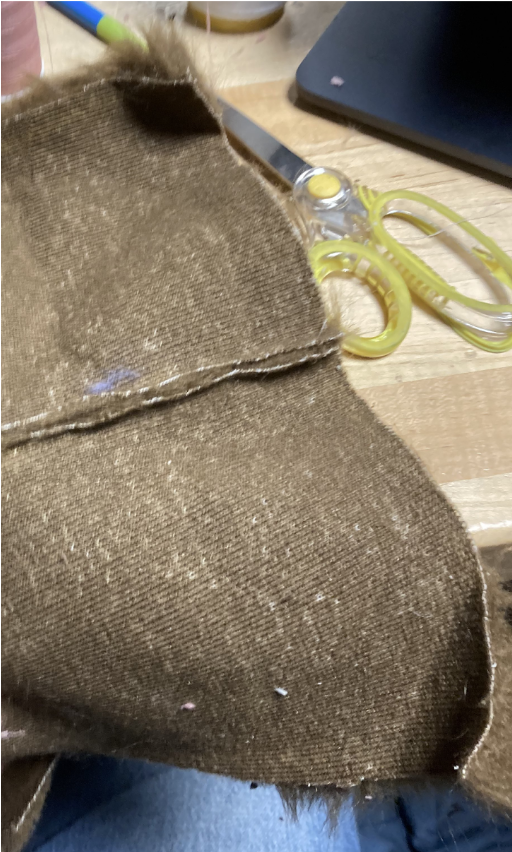
I started with the only one side of the wrists of my handpaws sewn. Cut out a strip of your cuff material that's a little longer than the edge you are cuffing.
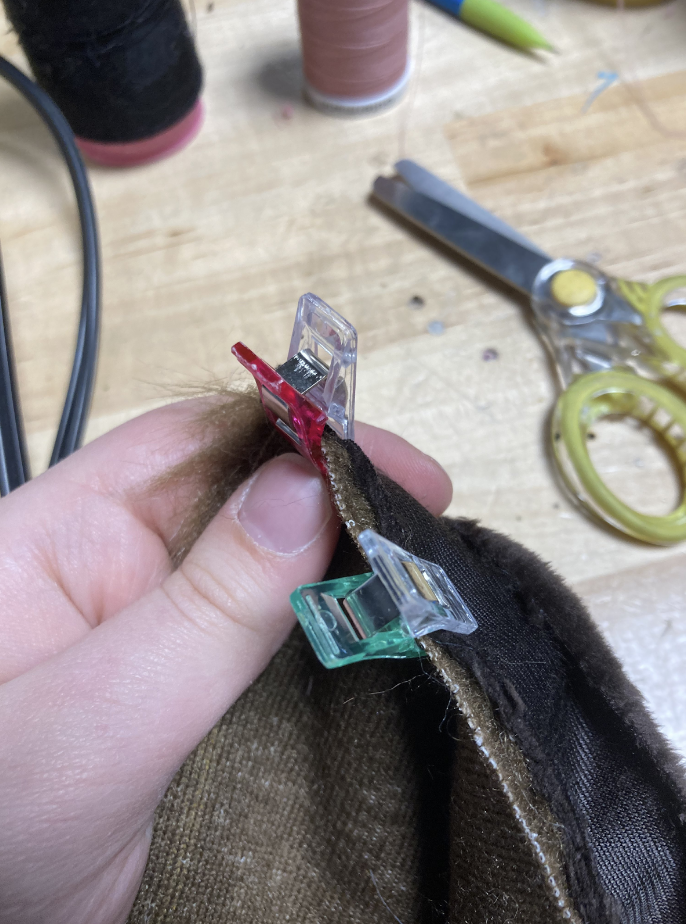
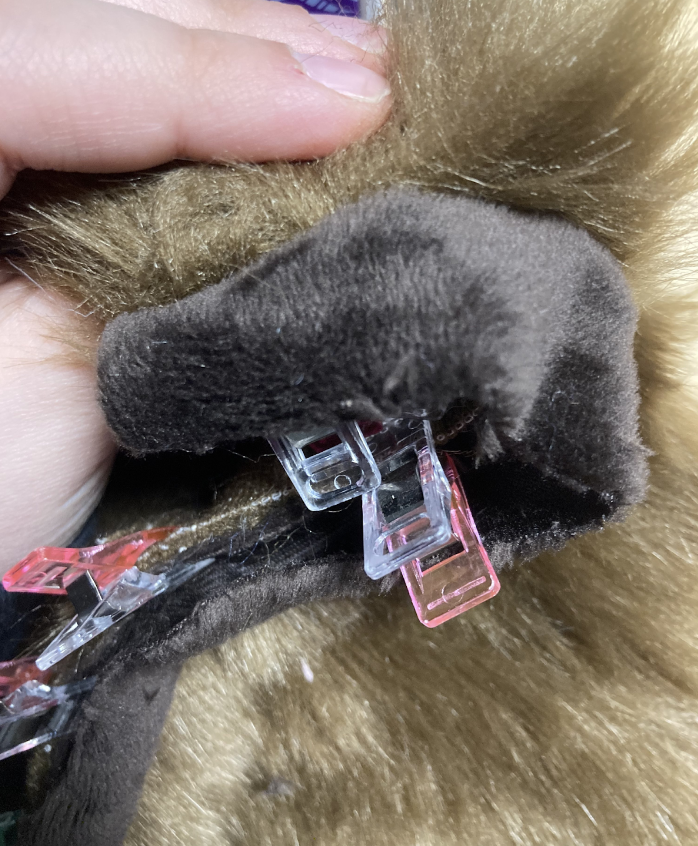
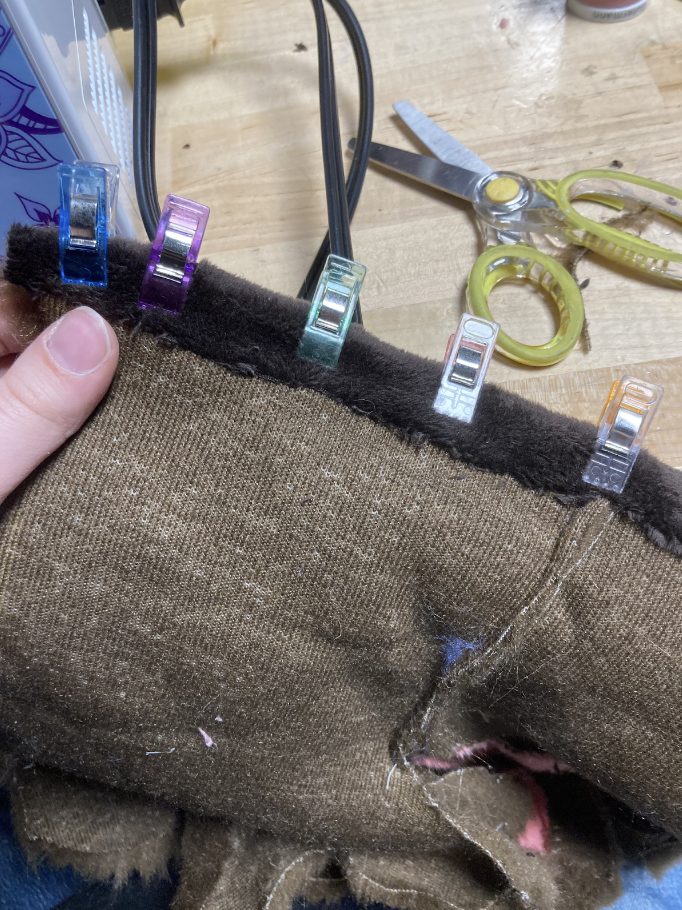
Pin it to your edge.
This isn't necessary, but I made sure the direction of my minky cuff was following the fur direction. Just a small little detail!
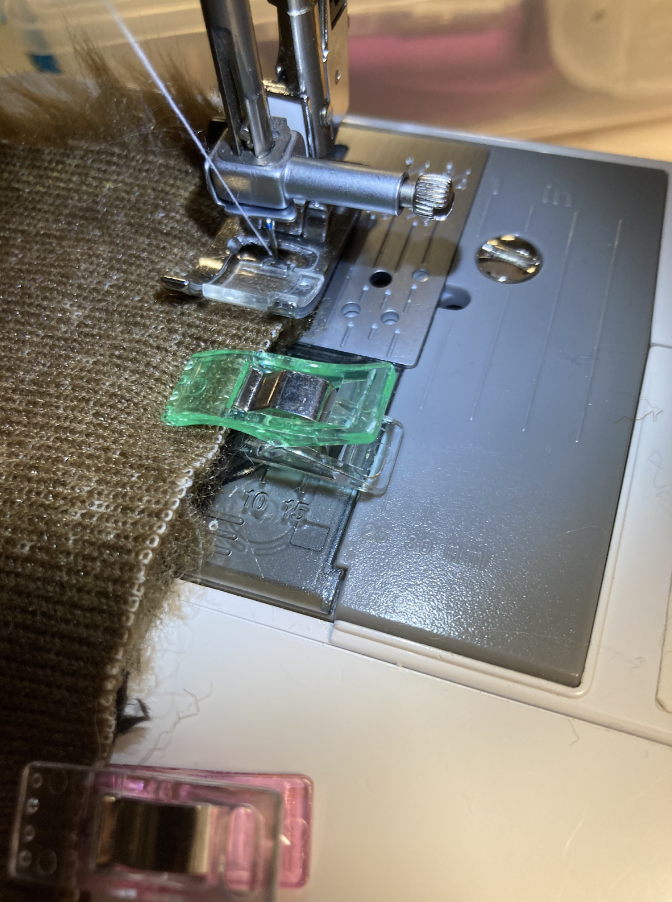
Sew right up against the edge.
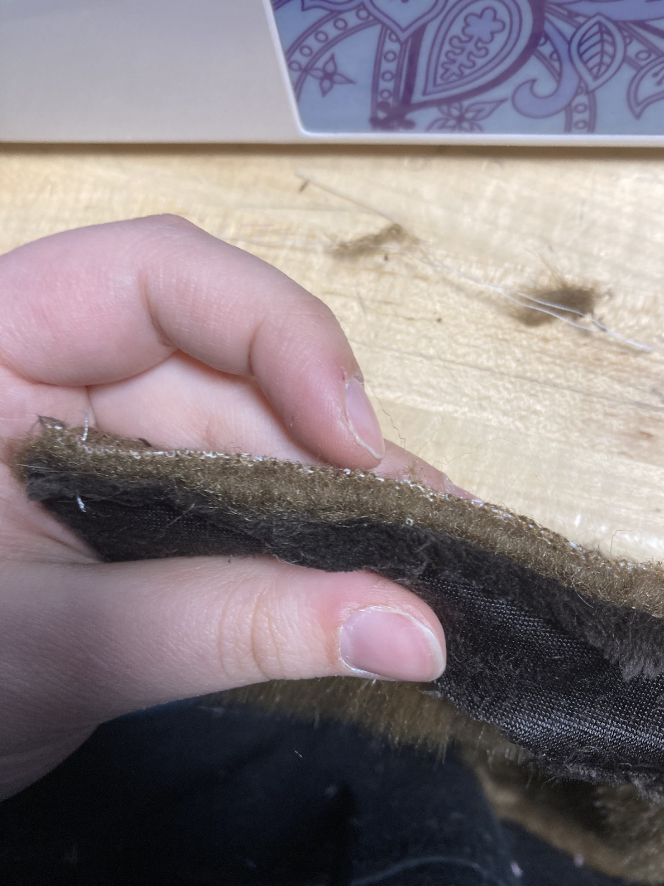
If you have a little bulk, trim it away.
Fold the cuff over and sew it again, right at the edge of the cuff.
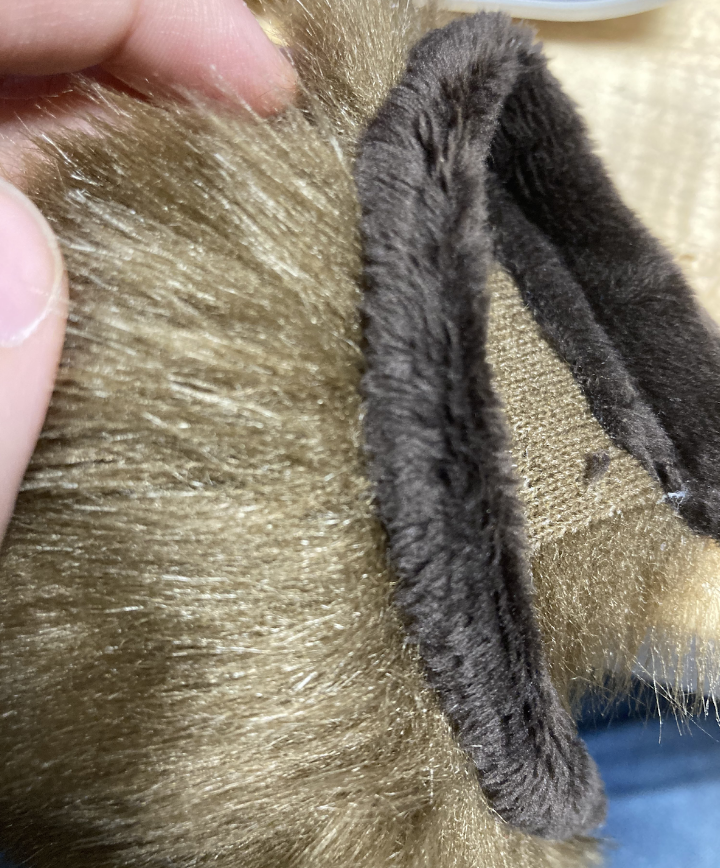
All done! Trim away the extra cuff if you so desire.
I like using minky fabric on my handpaws, but any non-fraying fabric works best! The purpose of a cuff is to protect the edge from fraying and unraveling.
I started with the only one side of the wrists of my handpaws sewn. Cut out a strip of your cuff material that's a little longer than the edge you are cuffing.
Pin it to your edge.
This isn't necessary, but I made sure the direction of my minky cuff was following the fur direction. Just a small little detail!
Sew right up against the edge.
If you have a little bulk, trim it away.
Fold the cuff over and sew it again, right at the edge of the cuff.
All done! Trim away the extra cuff if you so desire.