Patterning and Furring
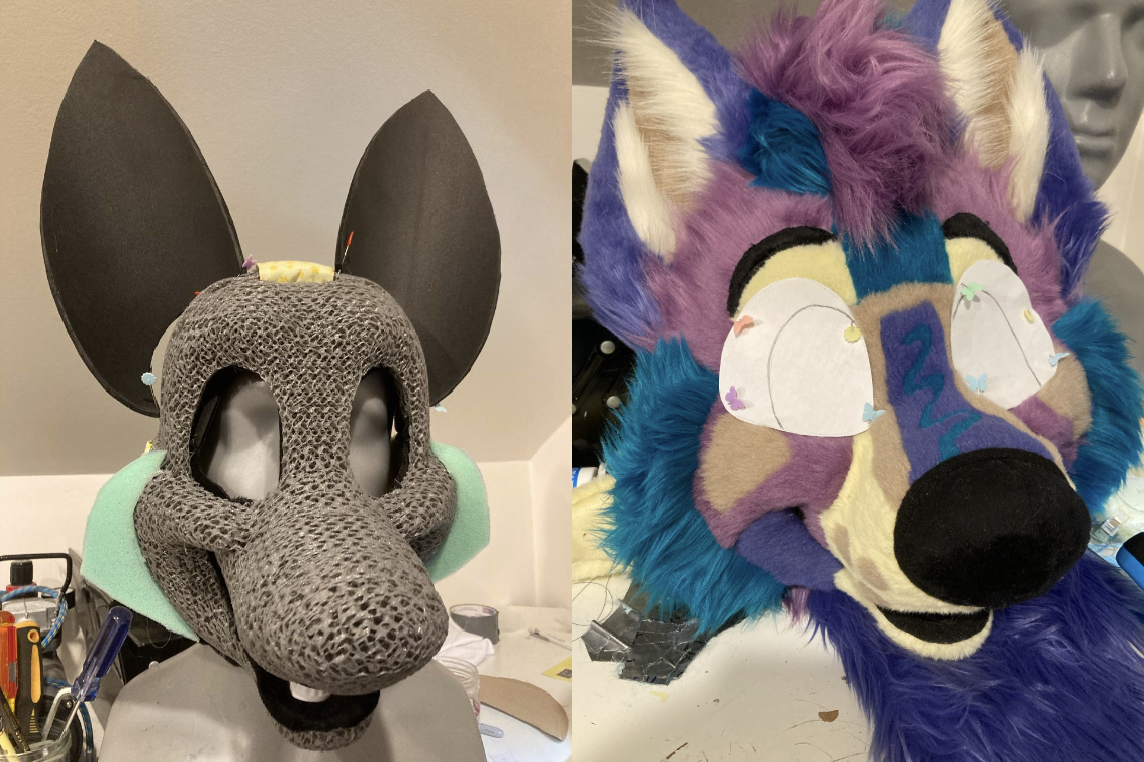
This step in making a fursuit head involves taking your base and adding fur onto it. The pattern, or the shapes we cut out of fur to sew together, is created by covering the base in duct tape. This results in the surface area of the base, with whatever markings we'd like, that we can use as our sewing pattern! Once all the pieces are cut out of fur, they are sewn together, then glued onto the head.
Before getting started with this tutorial: you should have followed my base preparation tutorial that walks you through how to get a 3D printed fursuit base to be wearable and ready to be furred. And, although for some it may be tempting to work on a head as a first project, I strongly recommend following my simple tail tutorial and making a pair of handpaws at minimum to gain faux fur experience before furring a head. You should also know some basics about patterning with duct tape.
Do you want to use the base featured in this tutorial? You can purchase the 3D model here!
You will need:
- A proportional mannequin head with shoulders
- Your fursuit base, prepped so it can sit on your mannequin and with ears (if applicable)
- Duct tape
- Sharpies
- Scissors (and an x-acto knife, if able)
- Needle and thread (sewing machine recommended but not required)
- Faux fur
- Fur clippers
- Felt fabric
- Hot glue gun and glue sticks
Table of Contents
- Taping and Annotating
- Cutting and Laying Pieces Flat
- Preshaving
- Cutting, Sewing, and Assembling Fur
- Gluing
- Postshaving
- Cleaning Up Details
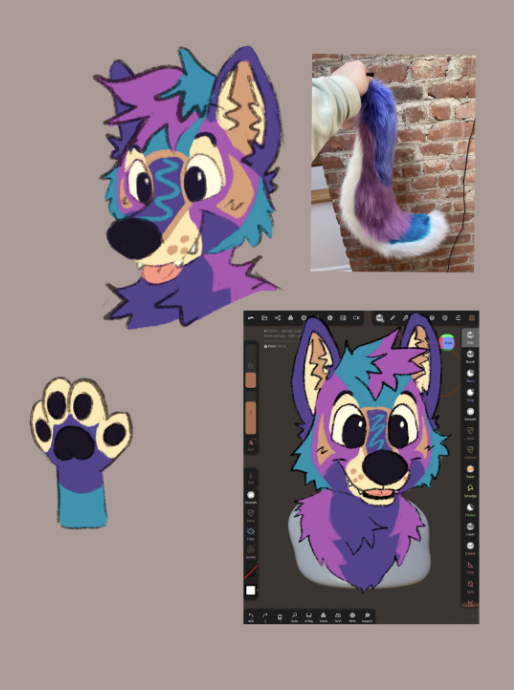
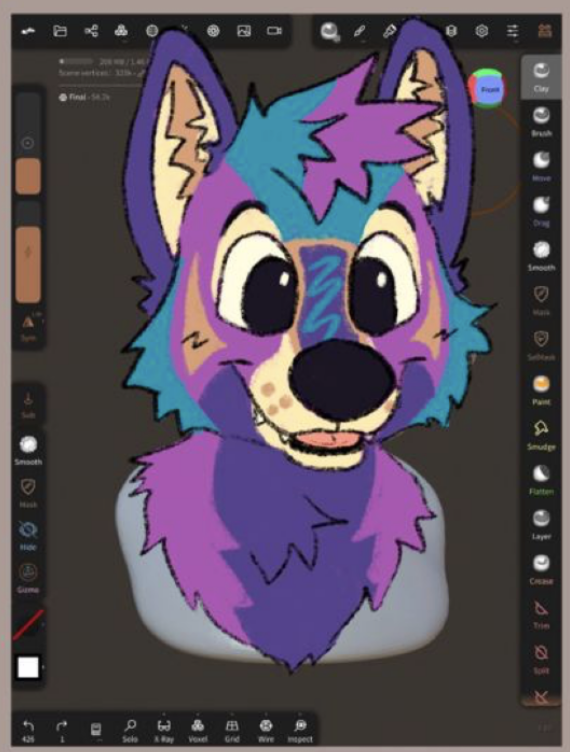
I will be working on the Wildberry Poptart wolf for this tutorial! Please do not copy this character design. I show the principals of how to fur a head with the expectation of you using your own character (or the character of whoever you're making the suit for), not how to fur a poptart wolf head.
Taping and Annotating
To start, cover your fursuit base in some duct tape.When purchasing your duct tape, do NOT get the strongest stuff you can find! Duct tape that is too strong can rip foam off your base, or may be too difficult to cut.
Symmetrical bases (like many 3D printed bases!) have the advantage of only needing one half of the head to be patterned if it is being used for a character with symmetrical markings. If your base or character are asymmetrical, you will need to pattern the full head.
If your ear is flat like mine was, you can reuse your ear pattern. This is where I began with my taping. I secured the pattern with a few pieces of tape.
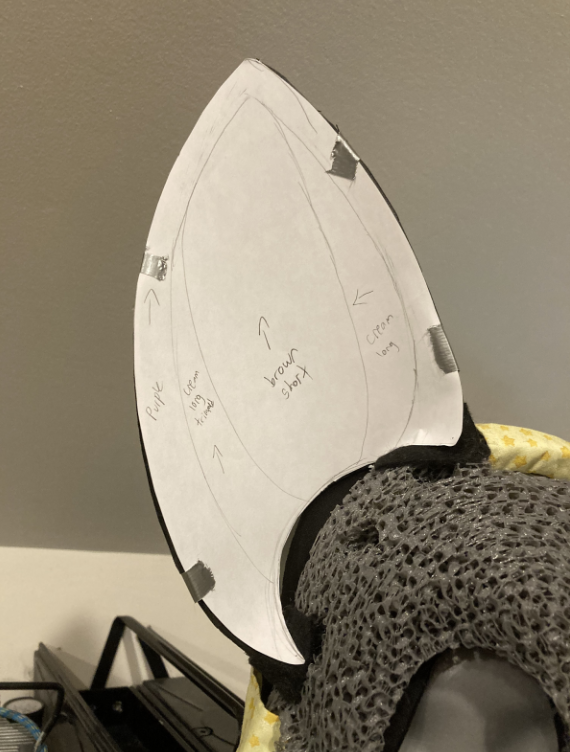
Continue taping around the edge, making sure it goes to the back. Use small pieces of tape. I'll explain my annotations later.
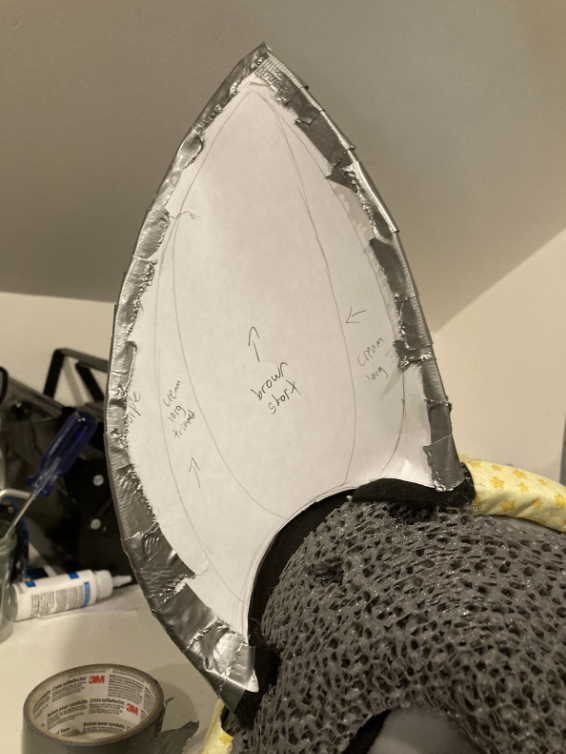
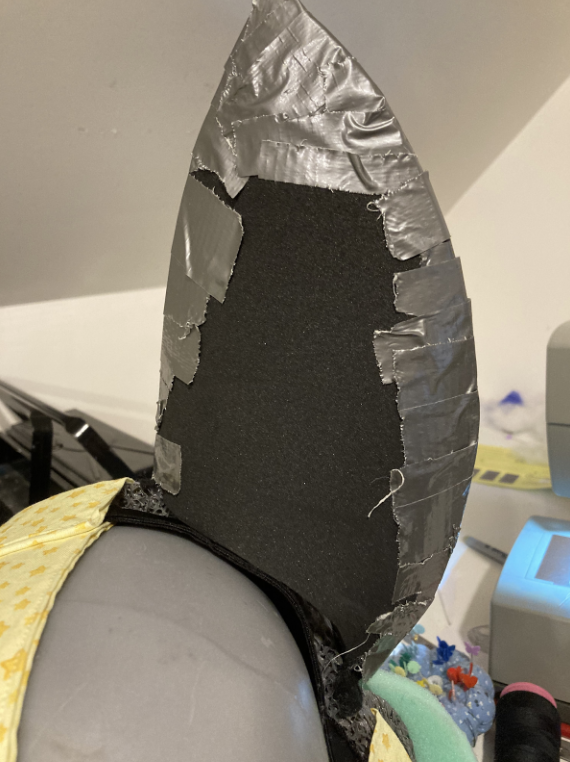
Continue filling in these gaps. For larger and smoother surfaces like the back of the ears, I suggest switching to larger pieces of tape.
Begin taping the base itself. Start near the top of the eyes.
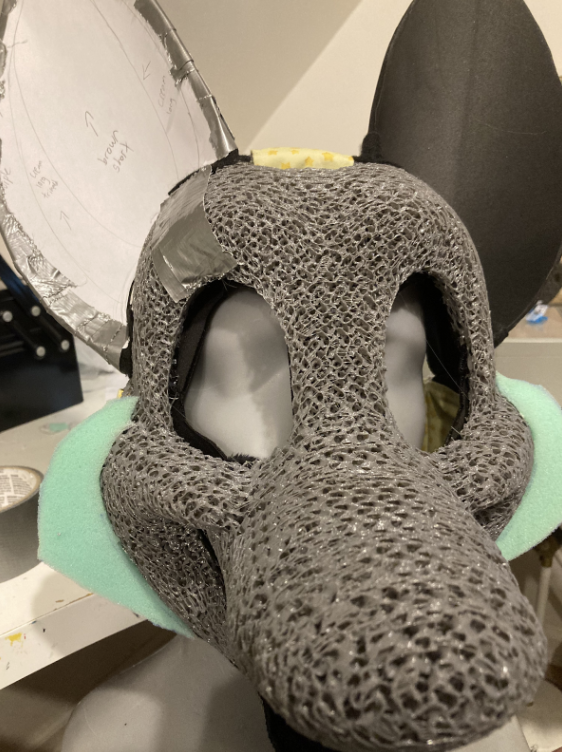
I had a *mostly* symmetrical character I was working with. The only asymmetrical part was the nose bridge.
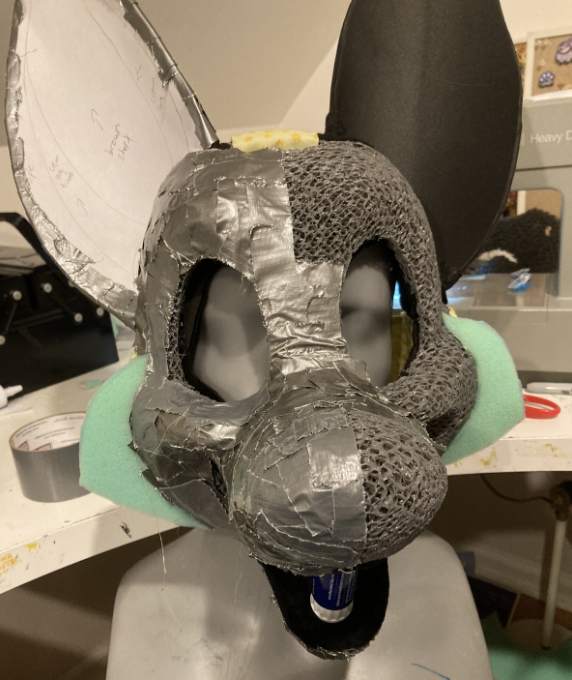
I patterned half of the base for everything but the nose bridge, which was patterned in full. If your character has asymmetrical markings, pattern the entire head. The glue stick in the mouth was to prop it open.
To pattern the neck, use large strips stretching from the chin down to the neck/chest. Leave some space to prevent tightness/choking.
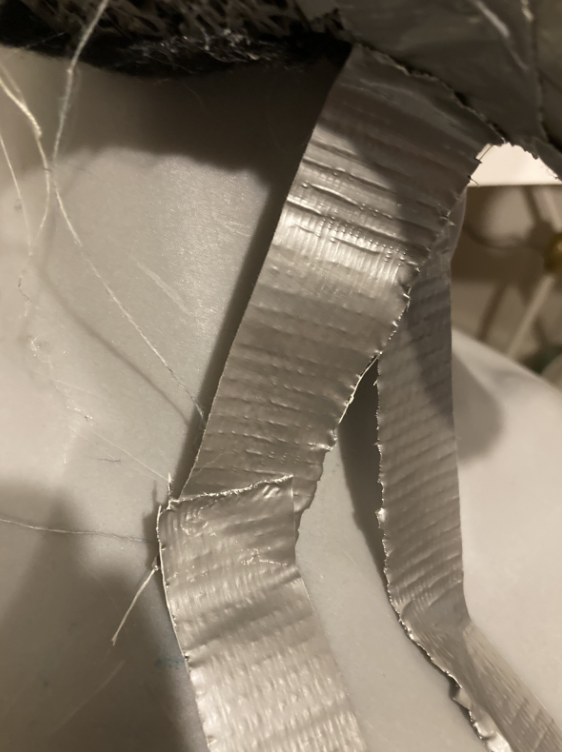
Continue taping the rest of the head, including the back. I used my cheek fluff paper pattern to save on tape.
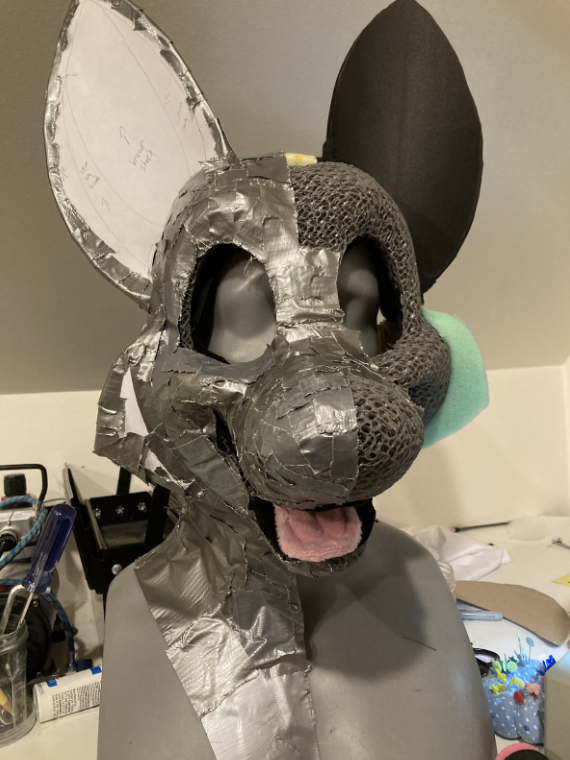
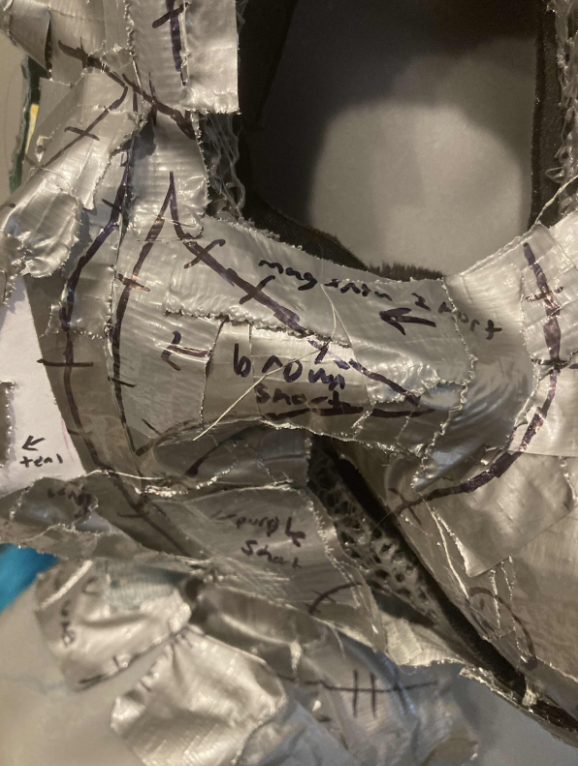
Time to annotate! Begin by drawing your character's markings with a Sharpie. With a few exceptions, I typically only do the outlines instead of filling them in. Write the color of the fur, the length (short, long, fade), and an arrow denoting the direction of the fur. Draw small perpendicular lines that intersect your markings as alignment markers. These help place your pieces together.
My poptart swishy marking was too small to annotate, so I simply colored it solid with a separate color Sharpie.
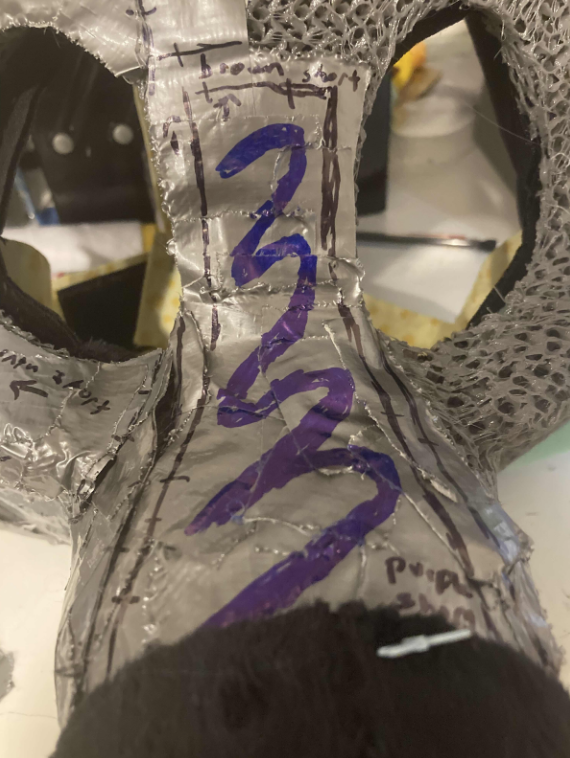
If your markings are simple, you may need to add additional breaks in your pattern to help it lie flat. This is especially necessary for areas that change curvature quickly. My cheek/smile area needed to be split up. You may also need to break up areas such as the muzzle, the chin, the eyebrow area, or other areas.
I also recommend adding a cut between the ears and on the side of the head in order to separate the front of the head from the back. If applicable, separate the ears into a front side and a back side and the nose into a top surface and a (larger) bottom surface.
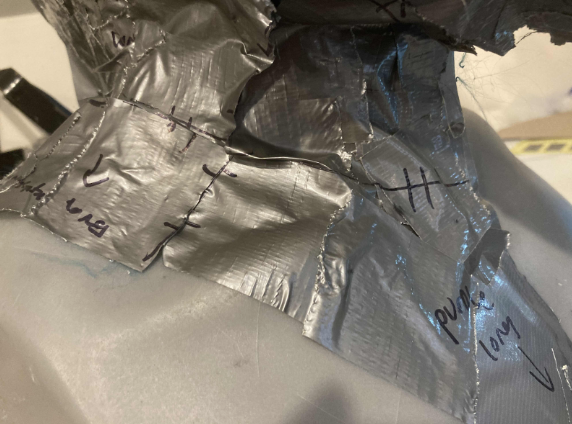
Split up the neck as well, right where it changes slope. This will result in a better fit.
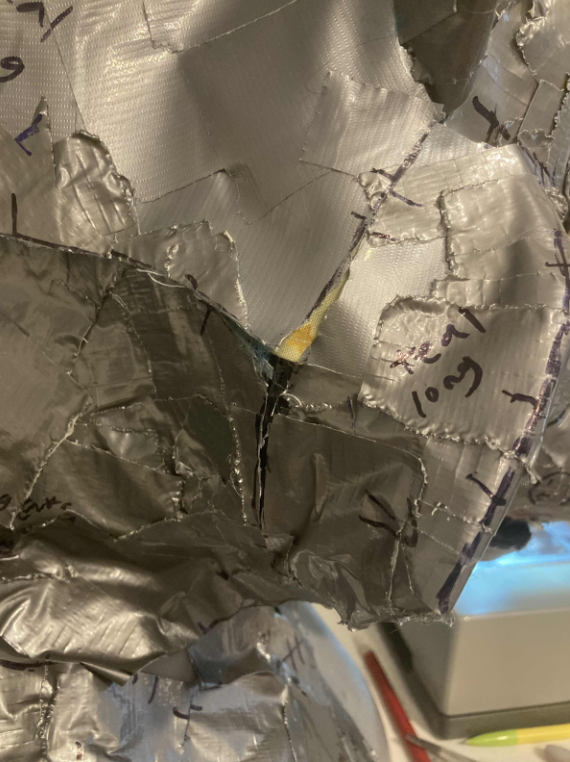
Partition a piece to go against the flow right at the cheek fluff. This will result in a spikier cheek fluff.
Cutting and Laying Pieces Flat
Begin cutting away your duct tape pattern pieces.I began on the back of the head with a big teal marking. It was very curvy and would not lay flat on my fur! With a piece that does not want to lay flat, you have two options: cut darts or separate it. Cutting darts works best for convex pieces (pieces that bulge outwards), whereas separating works best for concave pieces (pieces that bulge inwards, like a cave).
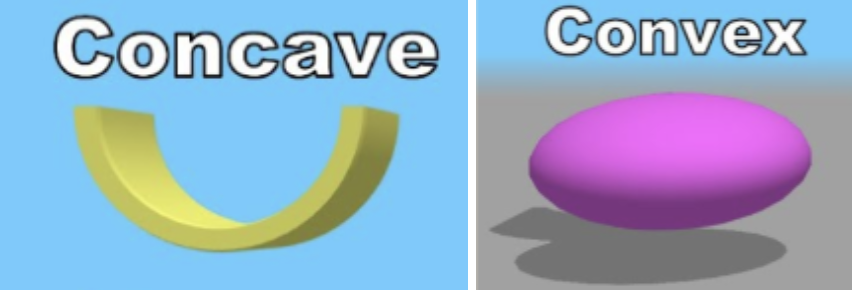
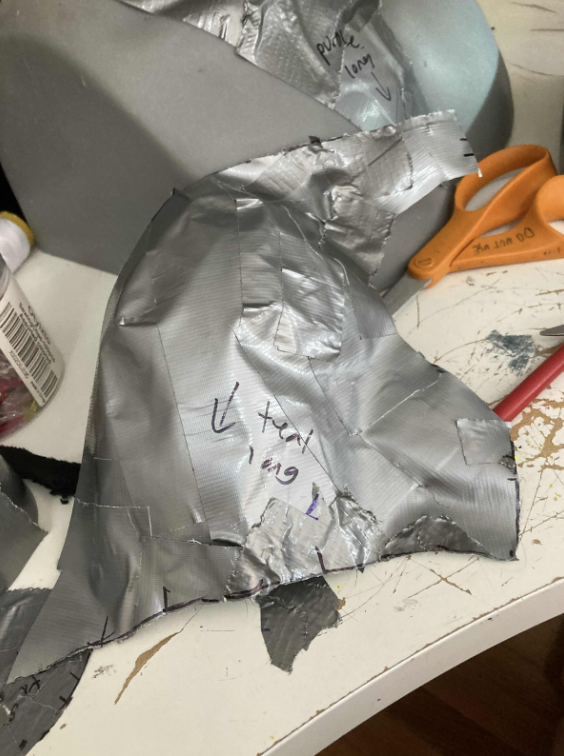
A dart is a singular cut made to help a pattern piece lie flat. It is not a cut-out triangle, the triangle forms because the piece is splitting apart when it's lying flat. Cutting darts in this piece helped it lie flat.
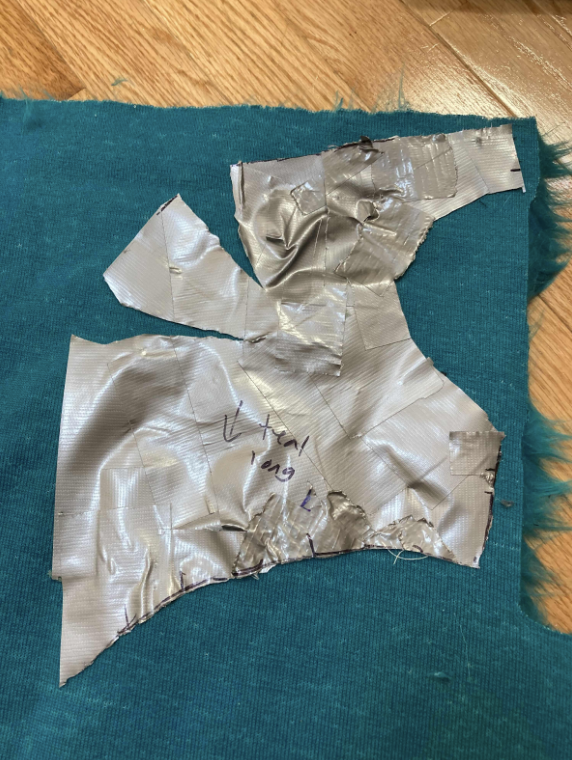
Here's a great example of both concavity and convexity in my pattern:
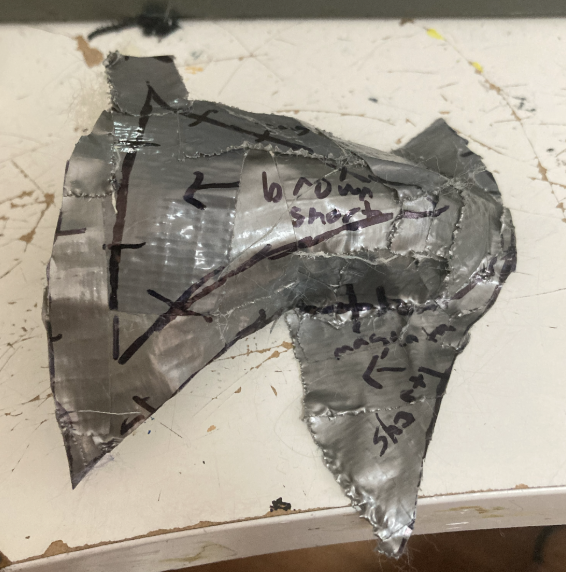
This piece should be separated into two because of that concavity (the line right above "magenta"), and the upper piece needs some darts because of its convexity.
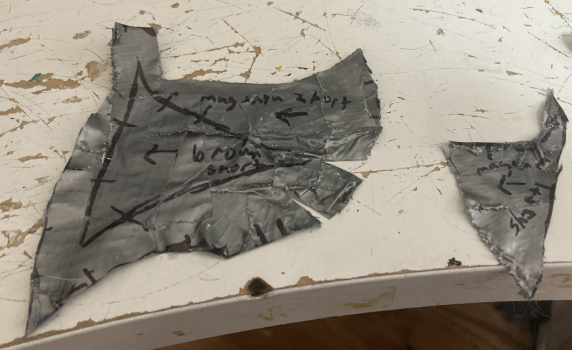
All flat! Perfect!
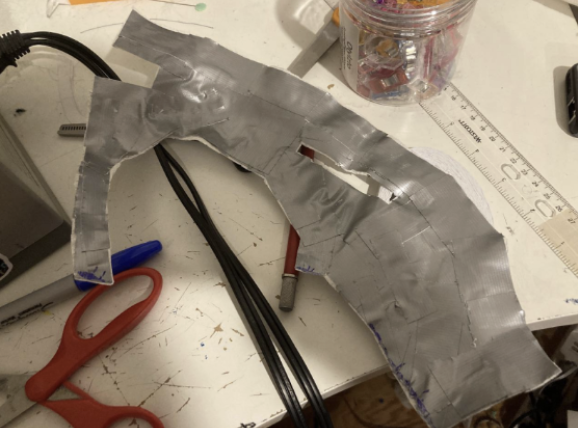
To keep everything manageable, Cut pieces only when you are going to cut them out of fur. If you find it helpful, you may put your duct tape pattern pieces on paper towels and cut them out again to remove the stickiness.
Preshaving
Preshaving means shaving the fur before cutting any of the pieces out. It's a lot easier to shave fur on a smooth surface and removes a good chunk of the bulk to make the pieces easier to work with and glue down. This will not be a final shave.I like to preshave in chunks. Typically I trace most pieces of a singular color out or estimate how much I need, and then preshave that. I use three different clippers: my vacuum clippers remove most of the bulk, and then I flip between my carpet clippers (the red ones with the acrylic guard) and my purple clippers for a refining shave. I recommend a 7FC blade.
I have a dedicated preshaving tutorial, where I demonstrate how to preshave on a little scrap piece. I used only my purple clippers in this tutorial, which are similar to Sminiker clippers.
Here's a little 5x speed timelapse video I made of me shaving some faux fur, using my three different clippers. Audio on for some sped-up shaving sounds!
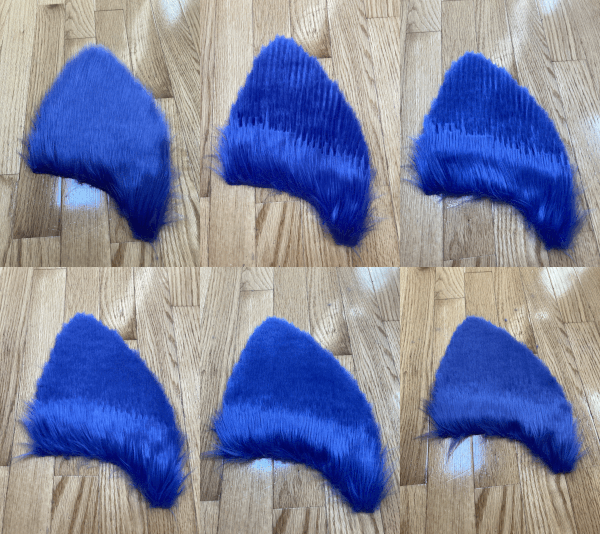
And a little ear trimming process gif. Note the longer fur at the base of the ears:
Cutting, Sewing, and Assembling Fur
This step is a lot like furring steps for other fursuit parts. You are reconstructing your initial pattern, but out of fur. With duct tape, pieces must be cut sticky side up in order to be on the correct side. This is because we are tracing our pieces onto the backing of the fur.If you mirrored your pattern, you have the luxury of being able to have half of your pieces sticky side down because of the flipped pieces!
Remember to always check fur direction before cutting, it's a very easy and frustrating mistake to make.
Here are the same back-of-head pieces from earlier, but this time they're cut out of fur.
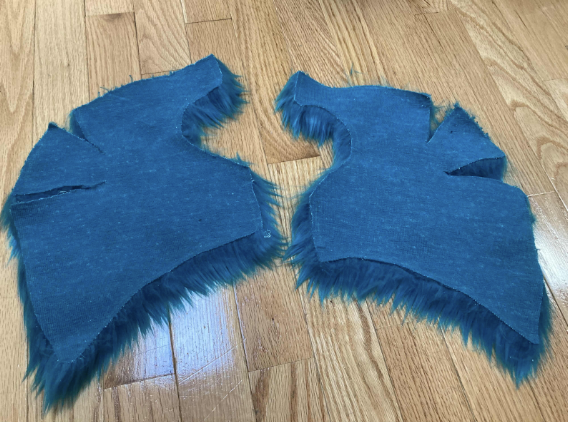
I began by sewing the darts together. The pieces then regained the curvature the original tape pattern piece had.
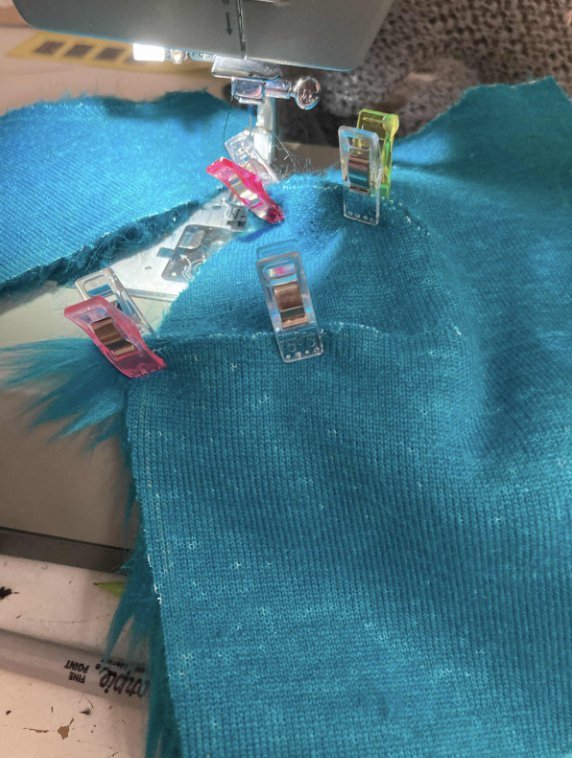
I cut the other neck/back pieces out. I sewed the same colors together first.
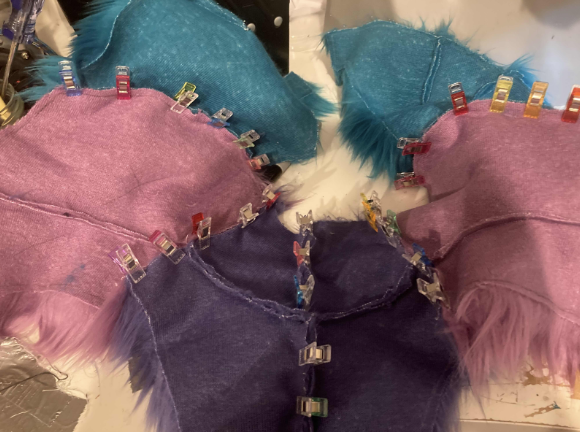
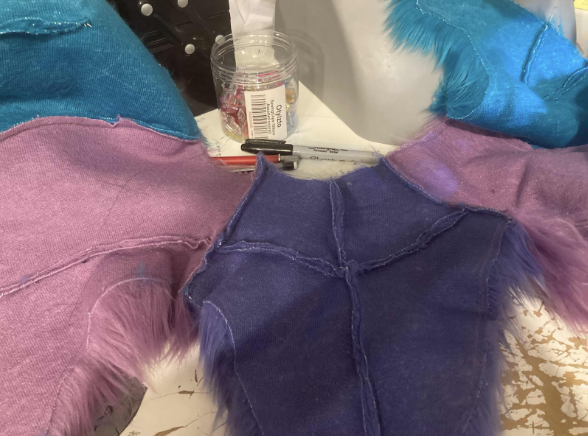
I then clipped and sewed them together. I wanted a zipper on the back of the head (I recommend you add one too!) so the straps could easily be adjustable and the head would be easier to put on, especially for people who wear glasses.
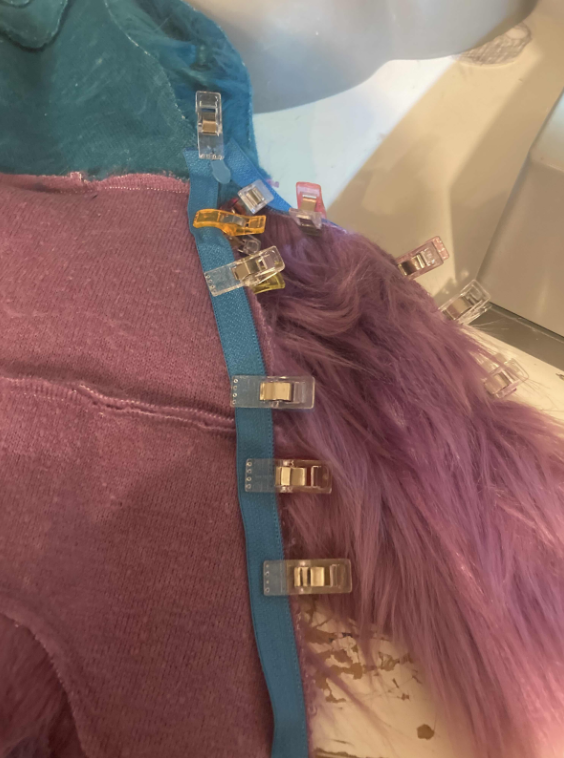
To add a zipper, begin by clipping it to the back of the head, with the zipper teeth just a few millimeters away from the edge and the zipper handle facing the outside.
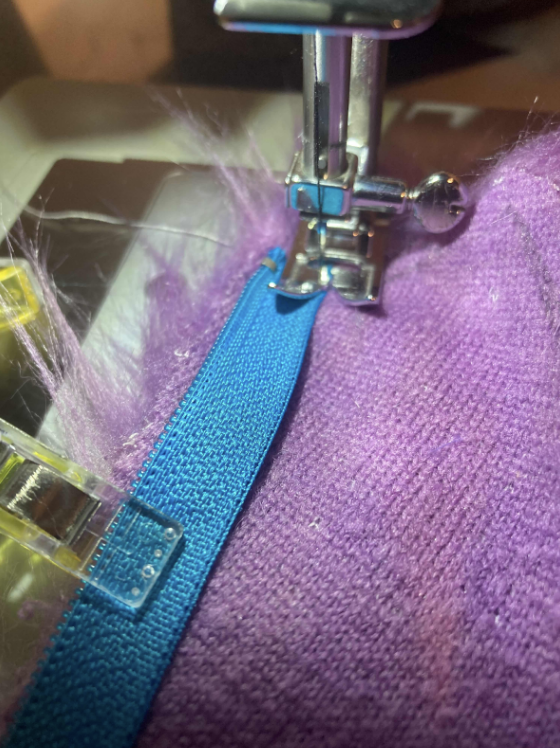
Sew the zipper with a straight stitch. I like to sew near the edge away from the teeth. Your zipper is now installed! It's super easy to install a zipper on the back of the head, it just takes a little planning. You are free to sew the rest of the back of the head seam.
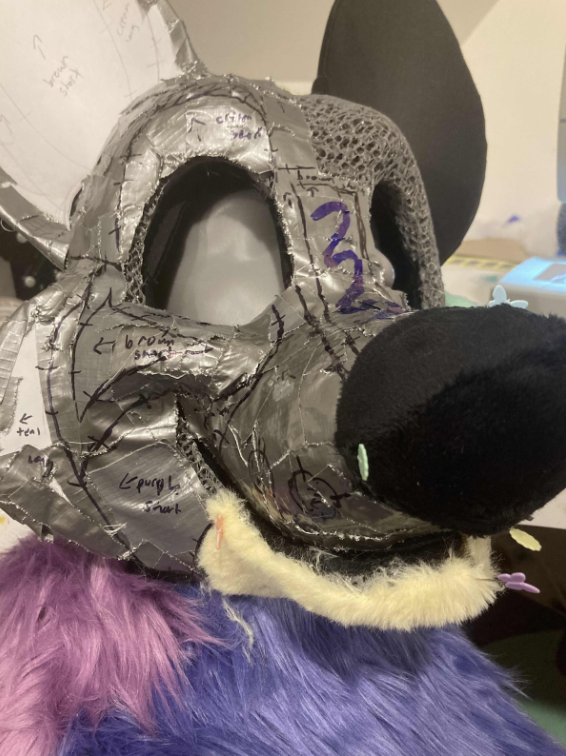
Move onto the front of the head. The process here is exactly the same (even with the nose!). Trace out your pieces, sew them together. The only difference is the pile length of fur.
If a piece near the center seems too loose (my jaw pieces often fall victim to this), you may need to cut and sew a dart. Doing one piece at a time and referring back to your pattern can help a lot with catching and remedying these errors.
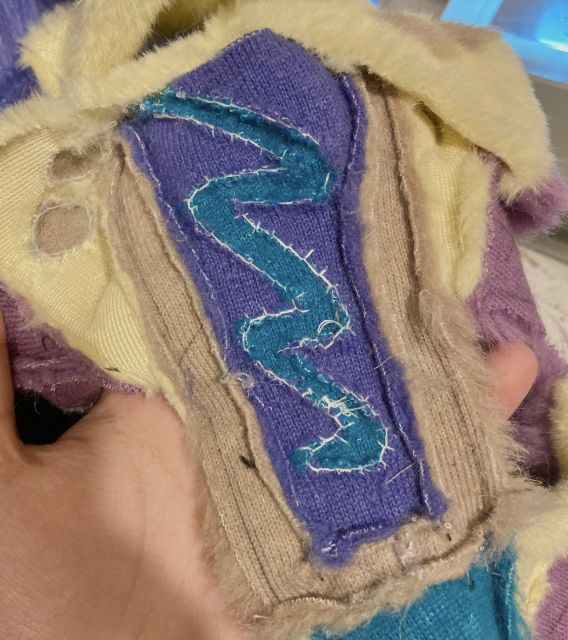
Even something as complex as the poptart marking uses the same process. I just needed more clips to hold it in place and opted to handsew for more precision. I recommend handsewing very tiny or weird markings like these, especially in shortpile fur where mistakes are accentuated.
I decided to applique my eyebrows. They gave me a LOT of trouble because I had a different fur color of fur below the eyebrows. In hindsight, I probably should have treated them like a marking and sewn them in as fur, or just made them out of felt and glued them on! However, here is how to make them:
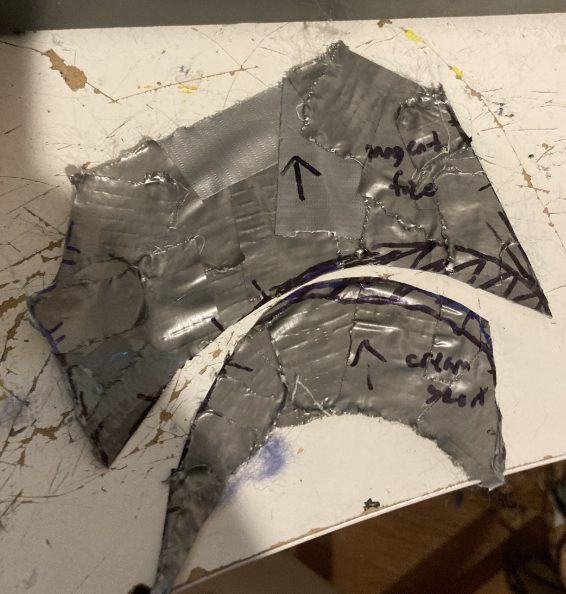
Draw them on the duct tape pattern, and split your pattern down the center of the eyebrow.
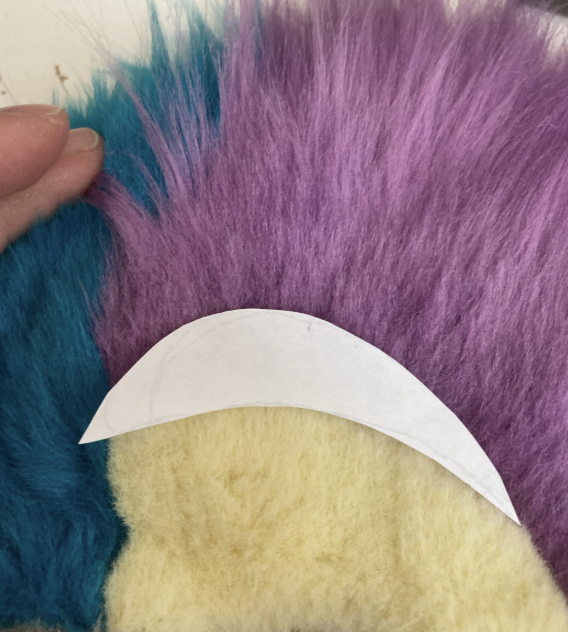
Make a template piece out of paper, then trace that template onto the faux fur.
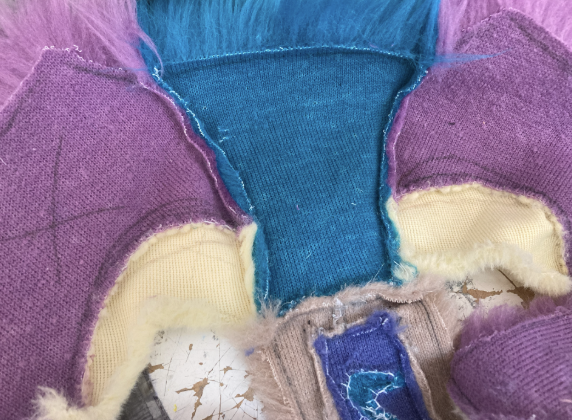
Pin your minky/fleece fabric to the pile-side of the fur.
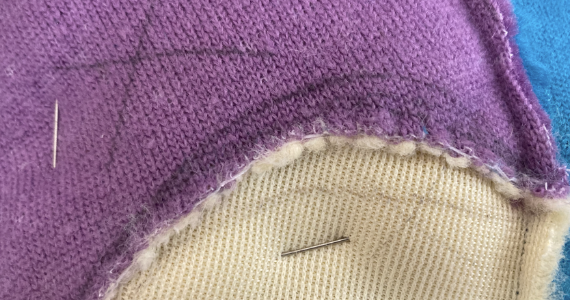
I used a basting stitch to hold the minky in place. Then, not pictured, I machine sewed the tracing I made and cut away the excess minky fabric. Similar to how I would applique handpaws, but with an extra basting step. This took me many tries because the alignment was giving me trouble!
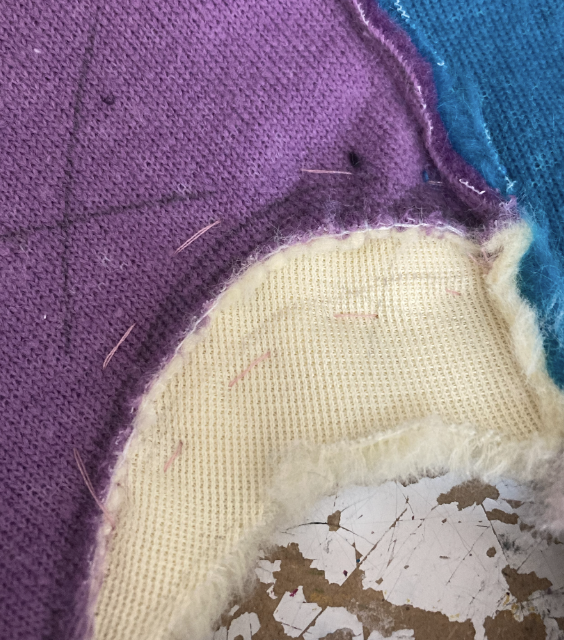
If you want to add a hair *puff*, now is a great time to do so! Check out my tutorial for more info.
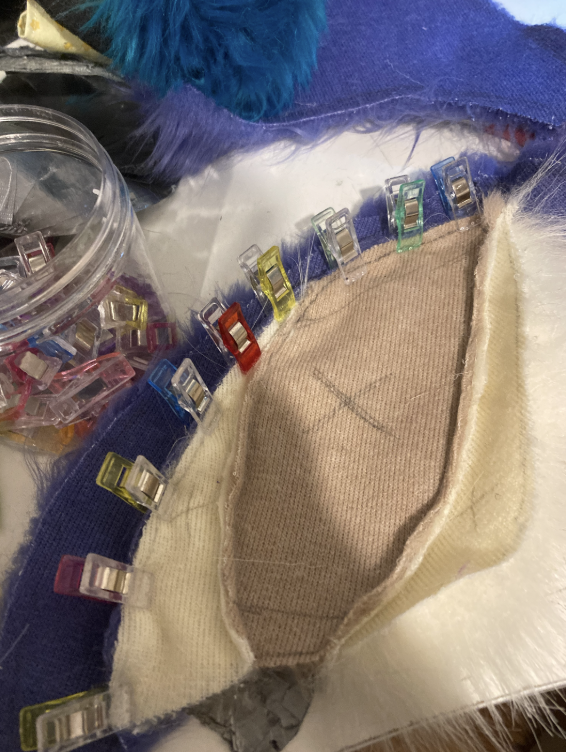
Continue sewing. I like to start from markings to form pieces (such as the front of this ear), and then sew those pieces together. Once you begin sewing those larger pieces together, you enter the assembly phase.
This is where you have to be a little deliberate about which parts you sew internally and which get sewn externally after gluing. If you sew *every* seam internally, you'll have a lot of trouble getting your fur on and gluing everything down.
Generally, I like to leave the sides of the head from the ears to the neck open (a little past where the cheek fluff sits), the top of the head between the ears, the fronts of the ears, the nose, and the mouth unsewn while I glue, and then I handsew them externally once everything is glued.
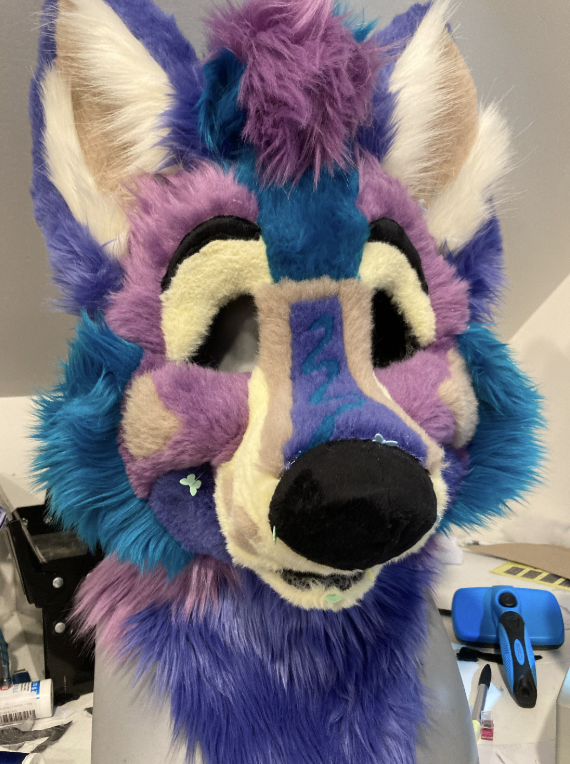
Try putting the fur "sock" on, and pin it down. Your head will look like it was stung by bees! Trust the process here!
Gluing
We are going to glue our fur down in strategic spots. Just enough that the fur stays down. I like to use as little glue as possible and rely more on sewing. Using too much glue can make your head heavy and not as breathable. I combine this step with the aforementioned external sewing to create a general "fur securing" step.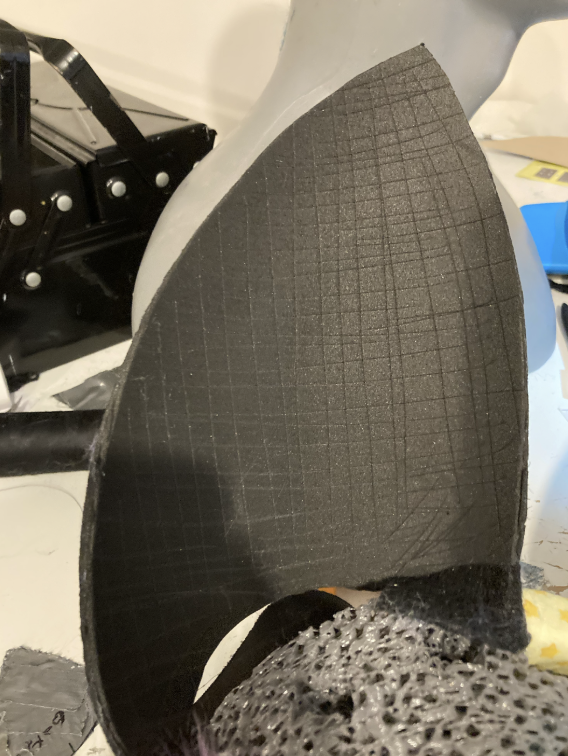
I started with the ears. Score both sides of the EVA foam with an Xacto knife to create more surface area for the glue to adhere to.
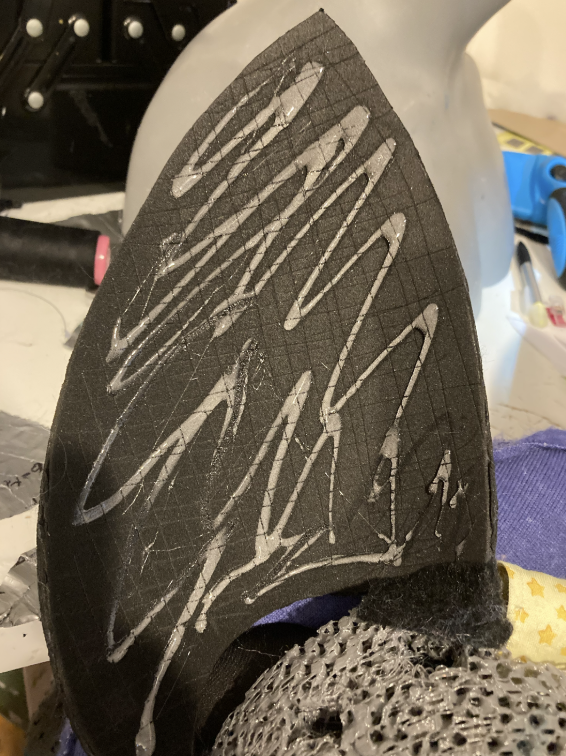
Then coat the front half with hot glue. Take your inside-out ear and press the backing of the front side to the glue. Be careful to align it properly. Hold it down and smooth it out with your hand. Turn it rightside-out to check your work, and if it looks good, cover the back with some hot glue (not as much). Press the backside onto the glue, stretching it in place. Brush everything out while the glue is still warm.
I put some glue in the smile/cheek crevasse, on the cheek near the jaw, where the muzzle started to protrude, near my ear vents, and on the cheek fluff. Areas that change curvature will likely require gluing.
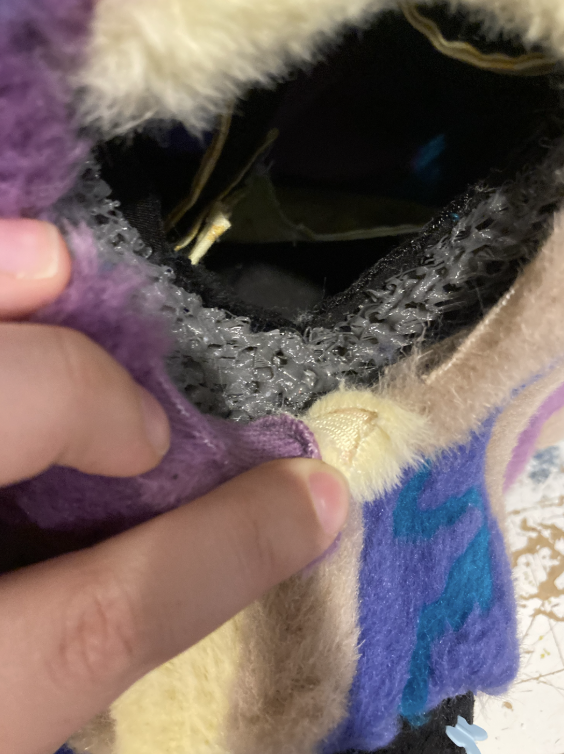
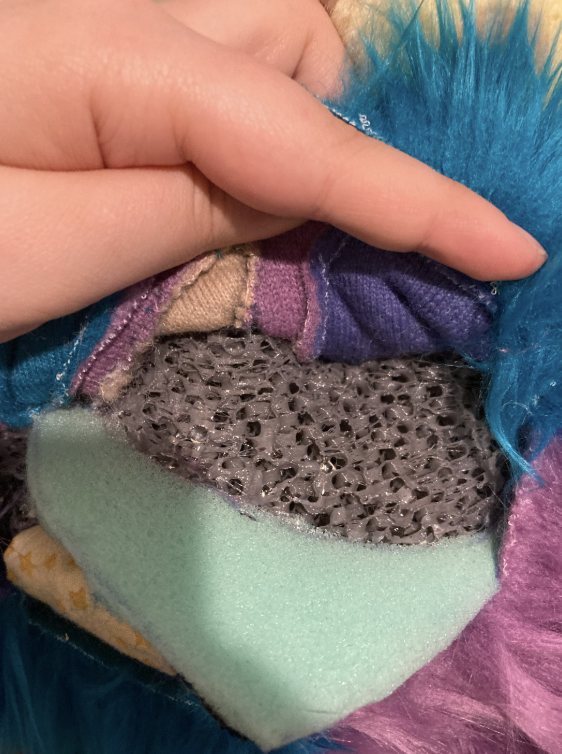
These two areas (near the eye sockets and that open edge right past the cheek fluff) are great for accessing the spots you want to glue down with your hot glue gun.
If you need more glue in other areas, don't be afraid to put some more down in moderation! I felt confident in my pattern and felt as though sewing the last few areas would provide the stretching needed to keep the fur in place.
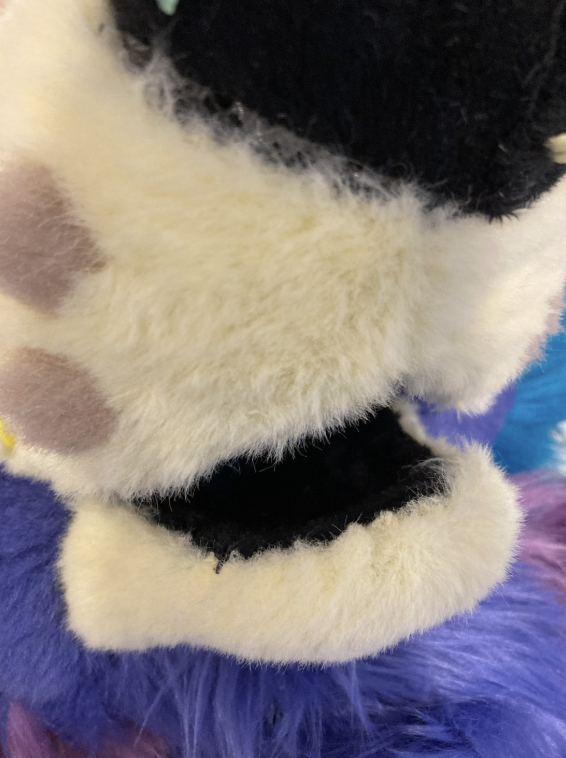
Sew the fur on the jaw to the inner mouth lining piece with a blanket stitch. Don't worry about how the seam is visible, we will be covering it up later. Sew the nose to the fur, then sew the upper mouth lining to the fur. Sew the fur around the eye sockets to the inner liner (if you have one).
Sew the other seams that you left open prior to gluing, still using a blanket stitch.
Postshaving
Use your clippers (NOT the carpet trimmers!) to perform your final shave. Brush often and be gentle.
As a final shaving step, spray your head with a spray water bottle and use a cheap disposable razor to make things extra smooth.
Cleaning Up Details
External sewing with a blanket stitch creates noticeable seams that we have to hide afterwards. This step can be bypassed if you opted to use a ladder stitch, but I find that the blanket stitch is much stronger and I am not a fan of the look of a ladder stitch.For the nose, cut a thin and even strip of felt, and carefully glue it on.
The lip requires a little more precision, so we need to make a duct tape pattern. Prop open the mouth with a glue gun, and tape the seam.
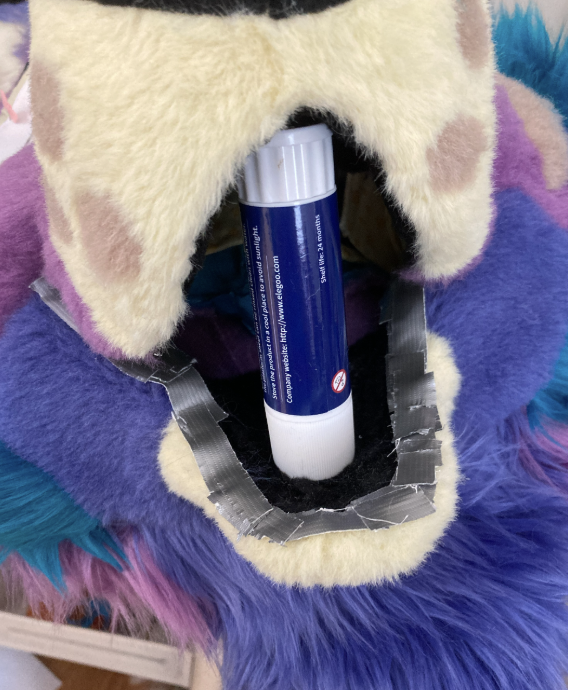
Cut out the felt lip and place pins as guides. Cut away some of the fur to the backing to get better adhesion (this is scary, but necessary!).
Start gluing at the center.
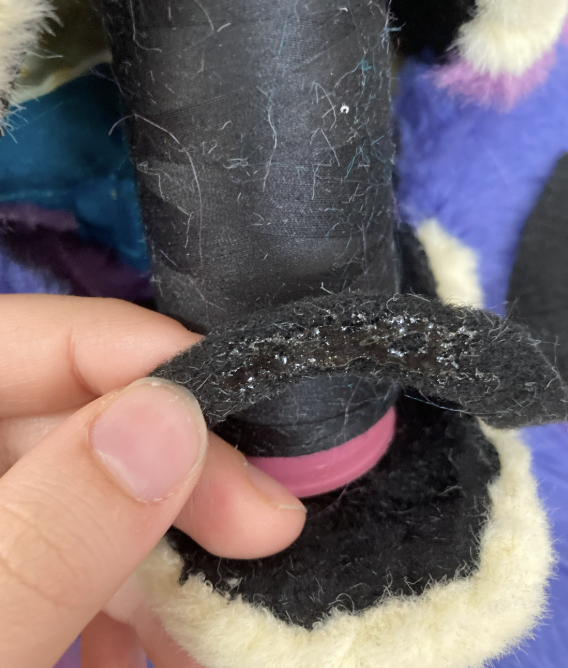
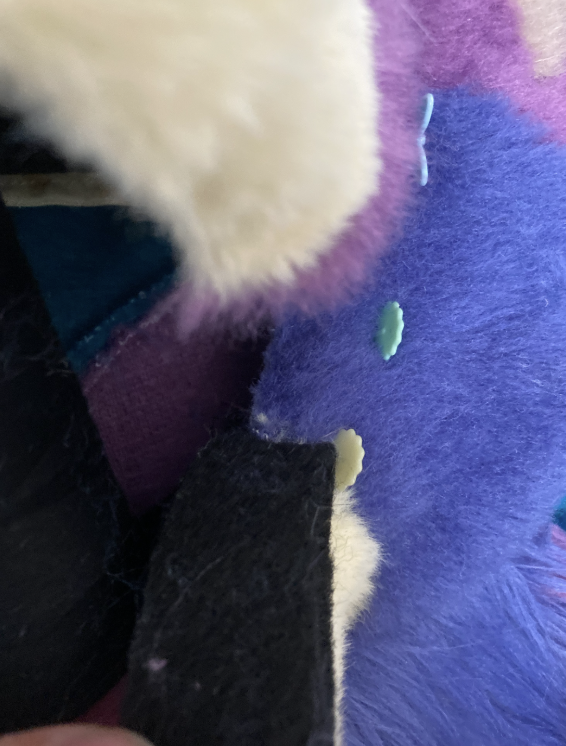
Continue gluing and cutting away the fur pile.
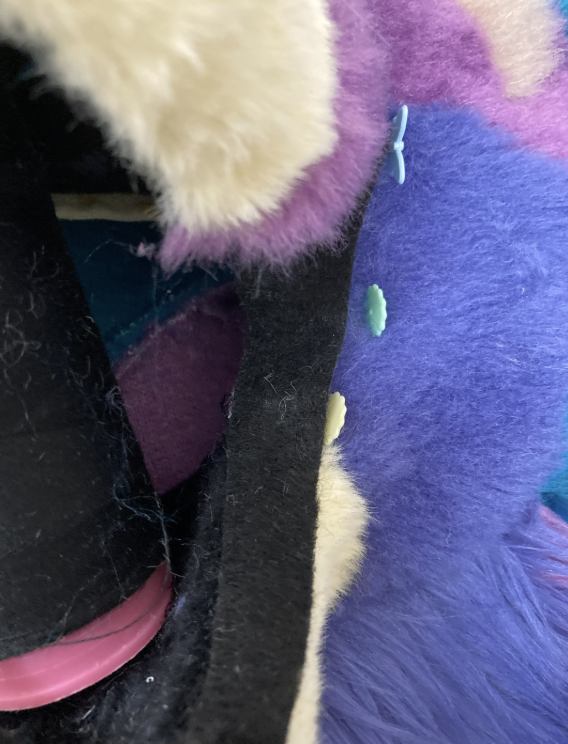
Remove the pins. You can repeat this process for the upper lip, but I find it isn't as necessary as the bottom lip.
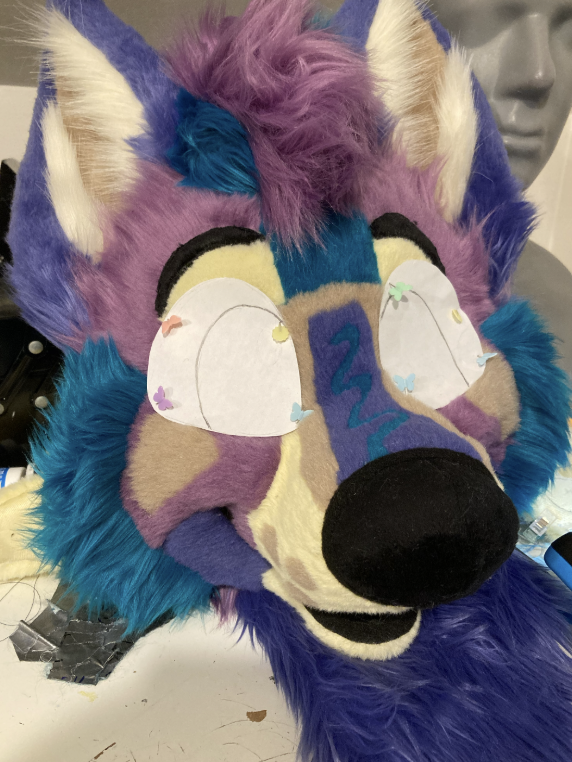
HOORAY!!! You finished FURRING A FURSUIT HEAD! Great work, you're almost finished with your head!
From here on out, all that's left are details: eyes, tongues, teeth, additional features like head pockets, accessories, and species-specific details like whiskers. You can do this!
Back to top
