Making Fursuit Hair Puffs
Hair puffs are the most common type of fursuit hair. They're the easiest to make as well! This method works best when you plan in advance and add the puff when you are in the middle of furring, before you have any fur glued on but the back of the head is all sewn.You will need:
- Faux fur
- Needle and thread
- Poly-fil stuffing
- Your fursuit head, ideally in the middle of being furred
Table of Contents:
Main Puff
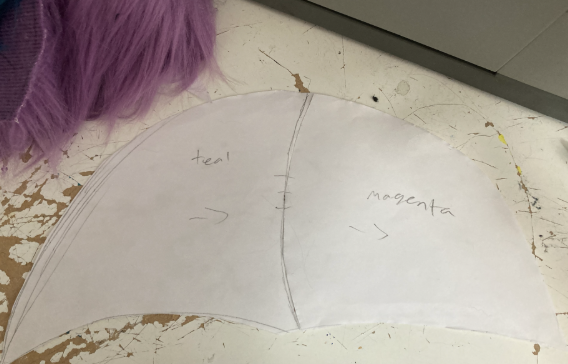
Begin by drawing a banana-like pattern on a sheet of paper. Treat any color changes like markings.Notice the two curves on the bottom of the banana shape. The curve on the left will be the opening for the tuft, where it will sit on the fursuit head. The curve on the right is purely for aesthetics.
Cut the fur, with one half flipped, and sew any markings.
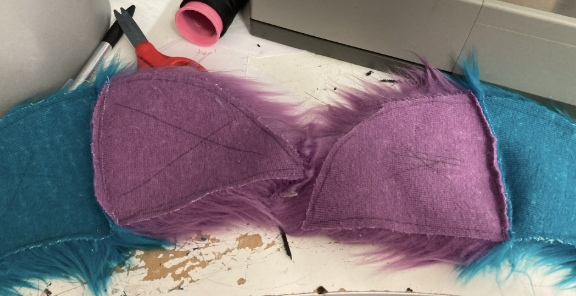
Clip and sew.
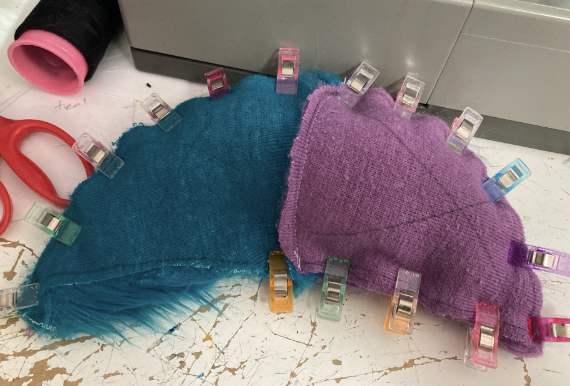
That's the main portion of the puff done!
Spikey Bits (optional)
These are optional little pieces of fur that add more definition and spikiness to your hair. To make them, cut small rectangles out of faux fur.
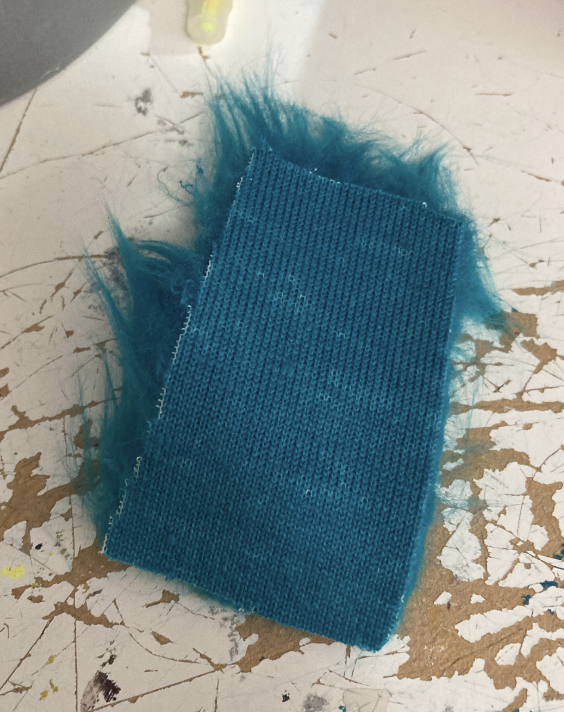
If you want a piece that protrudes a bit at the end, cut a house-like pentagon shape as shown below:
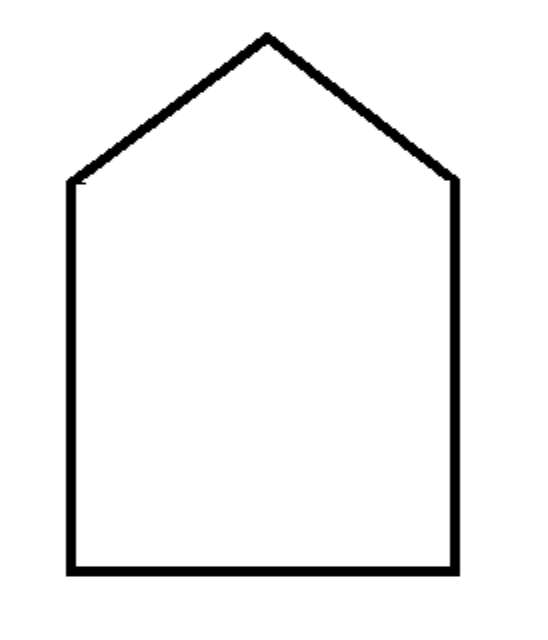
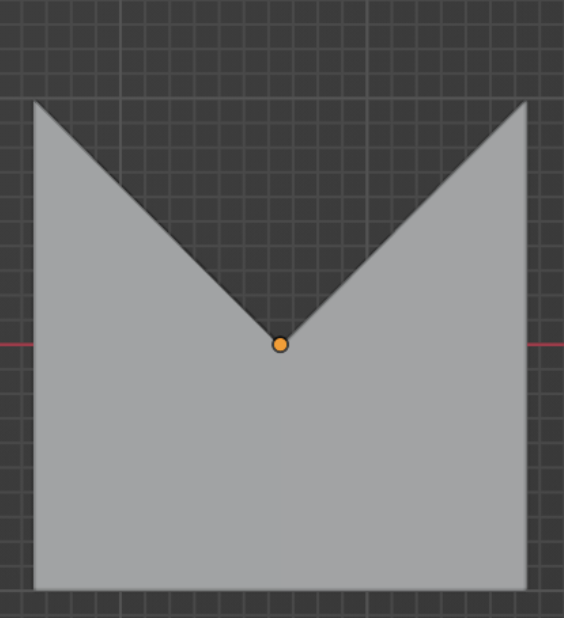
You can control how much protrusion you'd like by making the top sides longer or shorter. You can even make a shape like this for an even gentler curve with no protrusion:
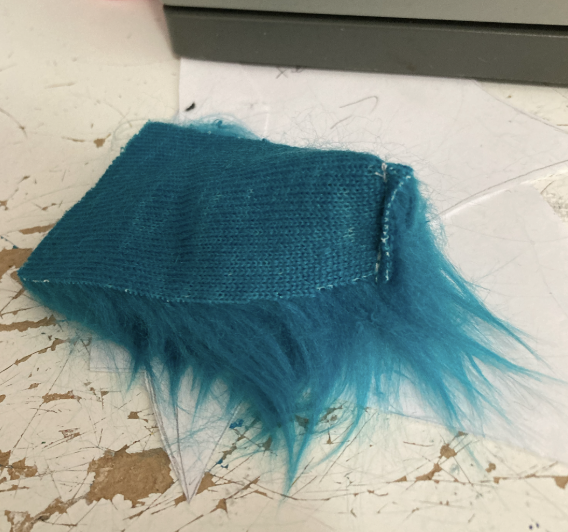
Fold the top edge of the rectangle, or the top sides of the pentagon, to itself, like shown below:
Cut a slit in your hair puff that is as long as the bottom edge of your shape.
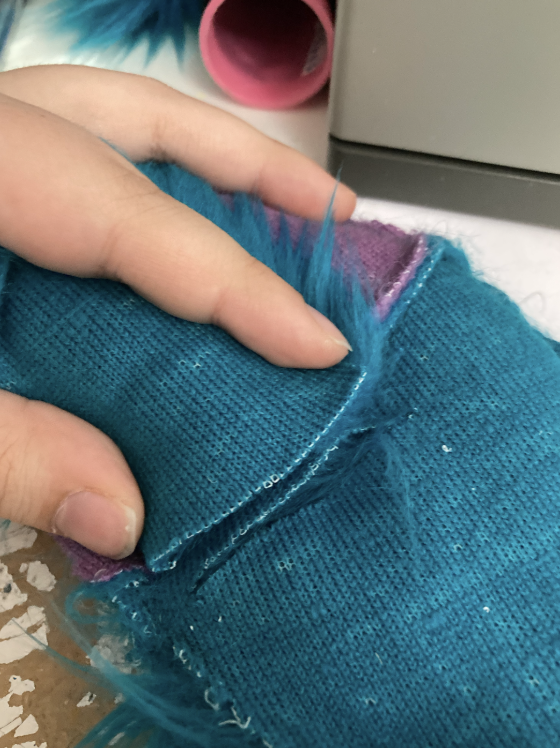
Pin and sew it in, so that it is sticking out and the tip is facing the tip of the hair puff.
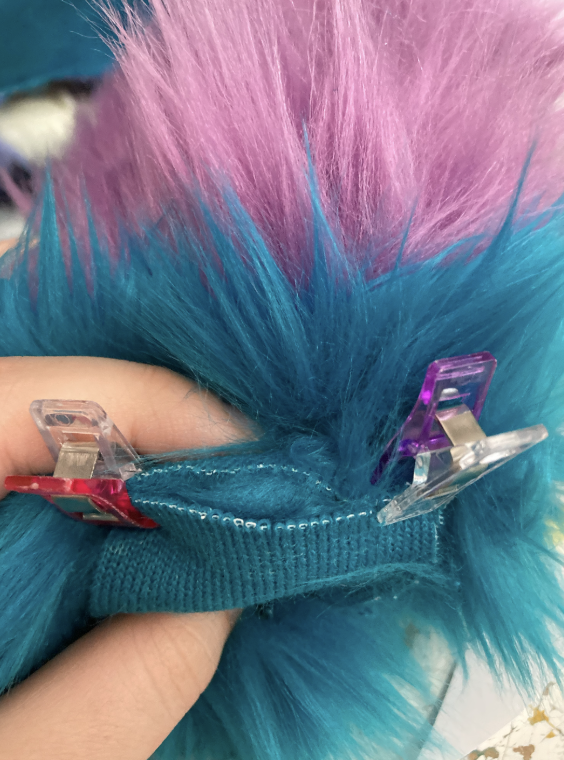
Sew the very tip down to the hair puff. You can sew the sides down if you'd like, but this is not necessary. Repeat for as many spikey bits as you'd like.
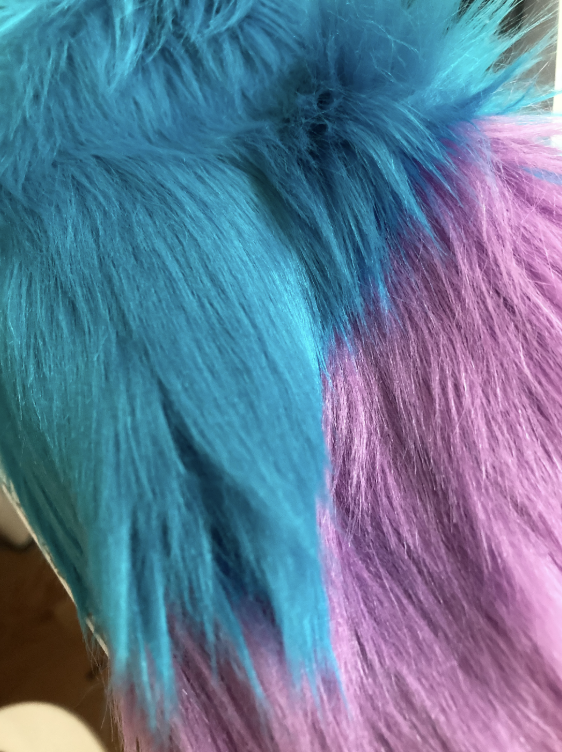
Stuff your hair puff with poly-fil.
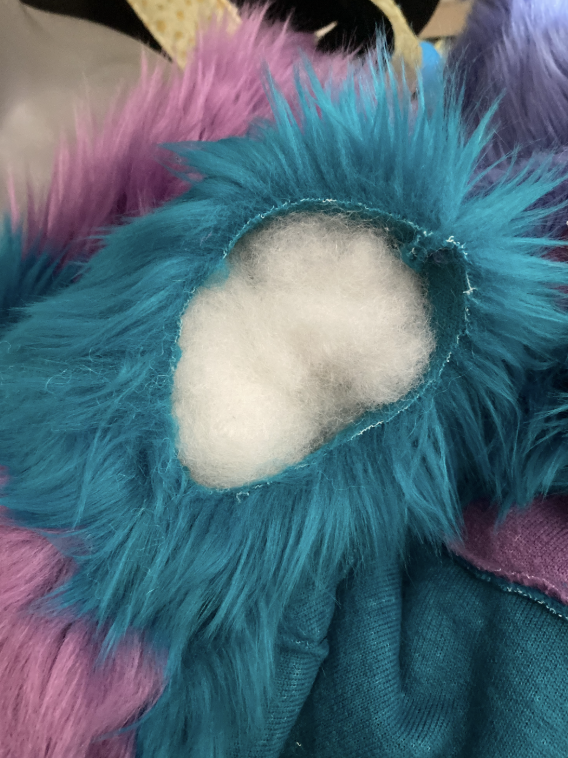
Installation
This tutorial assumes you are in the middle of furring your fursuit head. If you are adding a hair puff to an existing fursuit head, or you already finished gluing your fur down, you can adapt this method by pinning the puff down to the head and sewing externally, or closing the opening and ladder stitching it.Measure the perimeter of the opening of your hair puff. I think one half of mine was roughly 14 cm.
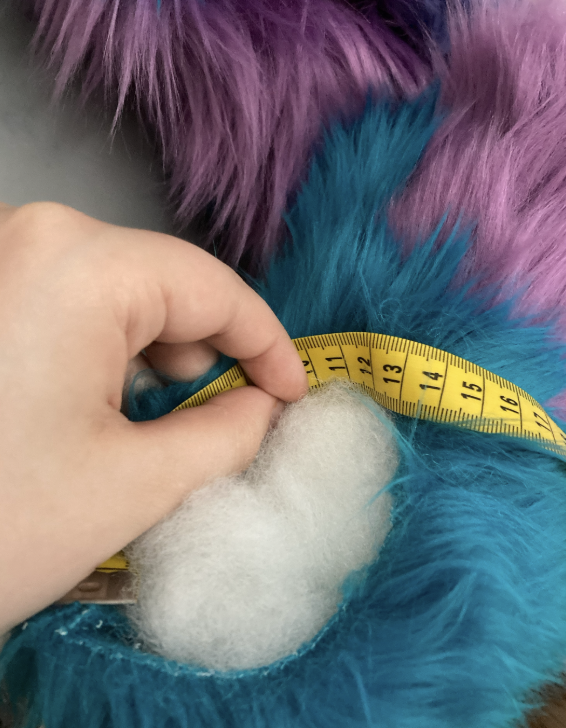
Use this measurement to trace where the hair puff will go on the back of your fursuit head.
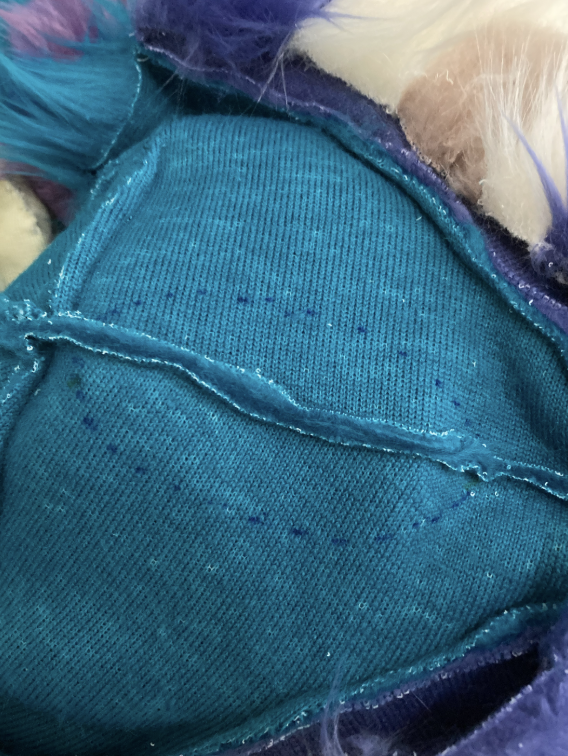
Cut it out and clip the pieces together.
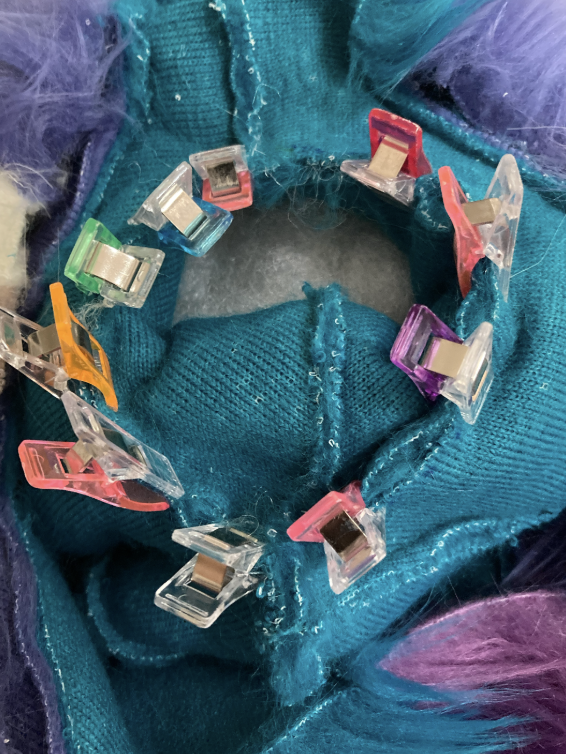
Sew. I used a blanket stitch.
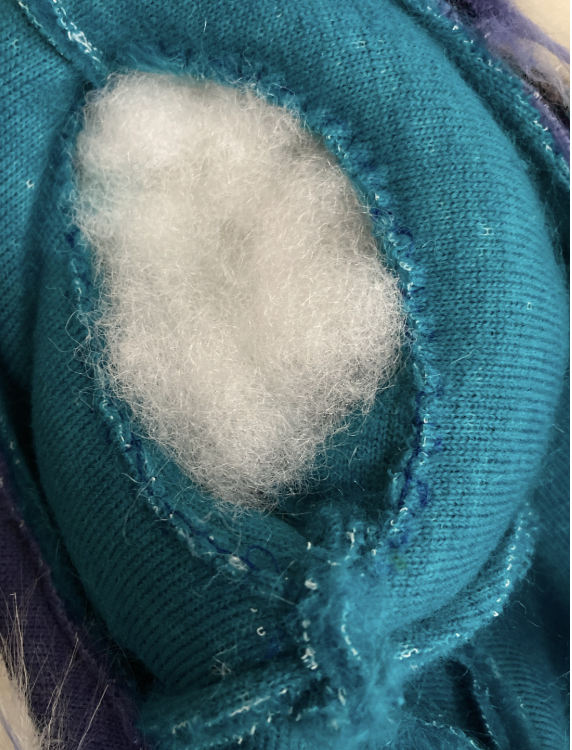
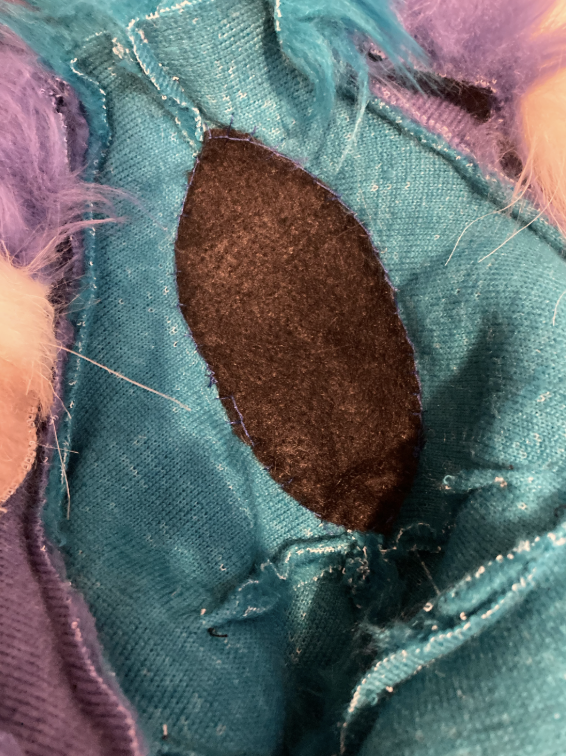
Pin a piece of fabric (I used felt, but you can use anything. Neoprene or lycra would work great) that is slightly bigger than the hole. This is to prevent the poly-fil from coming out.
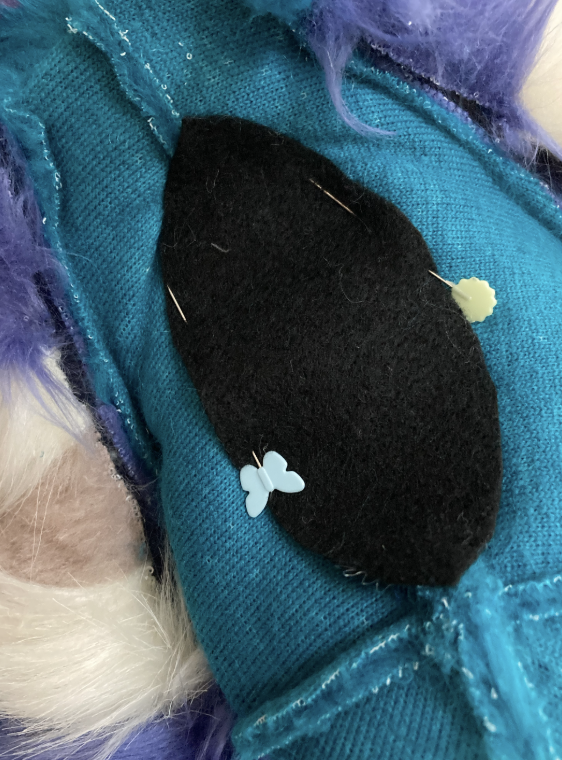
Handsew around the perimeter. Again, I used a blanket stitch.
All done! Your hair puff is now on super securely, and it looks super cute too!
Back to top
