Fursuit Muzzle Dots
Muzzle dots are really cute! They can be made with either faux fur or felt. If you plan on adding whiskers onto your head, I recommend using faux fur muzzle dots as the whiskers will be easier to insert.
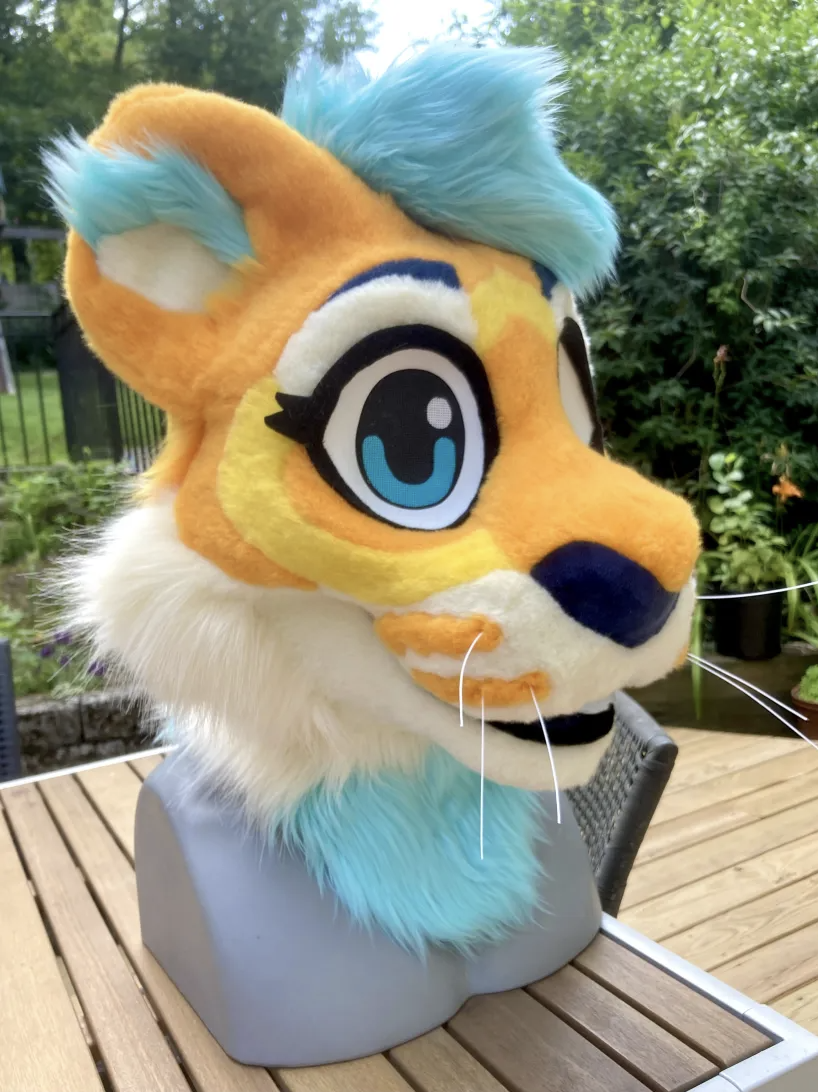
Fur muzzle dots can be treated like markings. Draw them on your duct tape pattern, cut them out of fur, cut the hole out of your main muzzle piece, and sew them in.
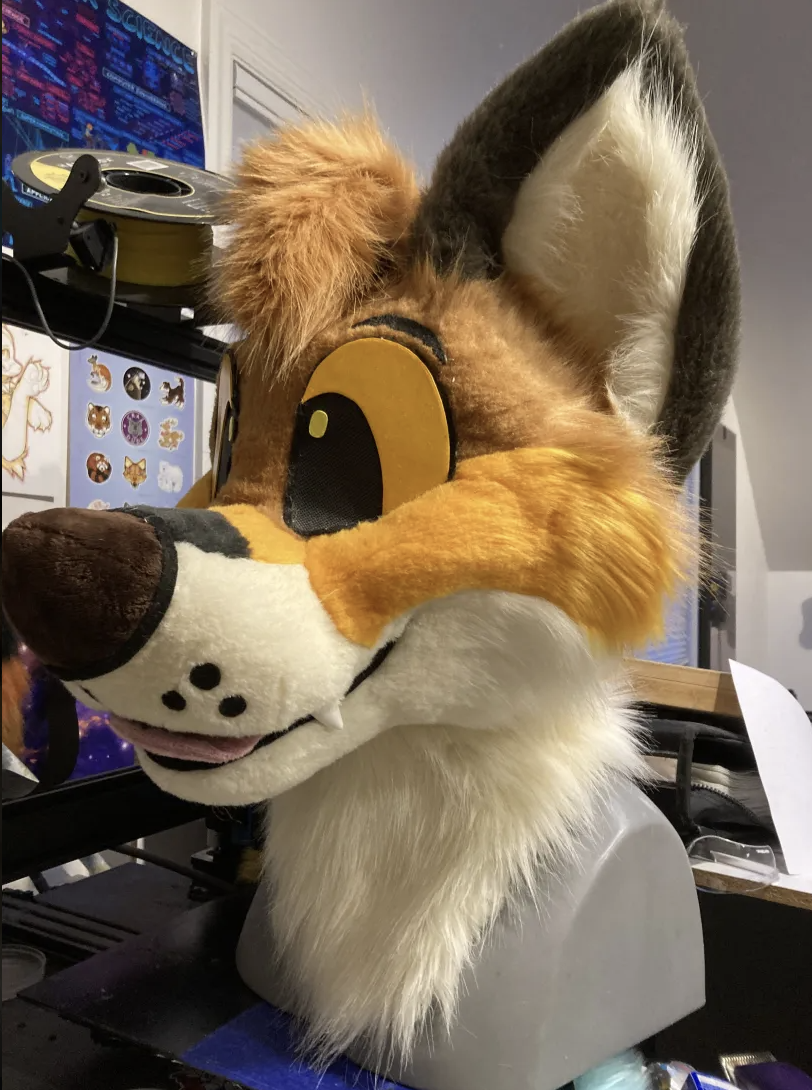
Felt muzzle dots can be either solid or outlined.
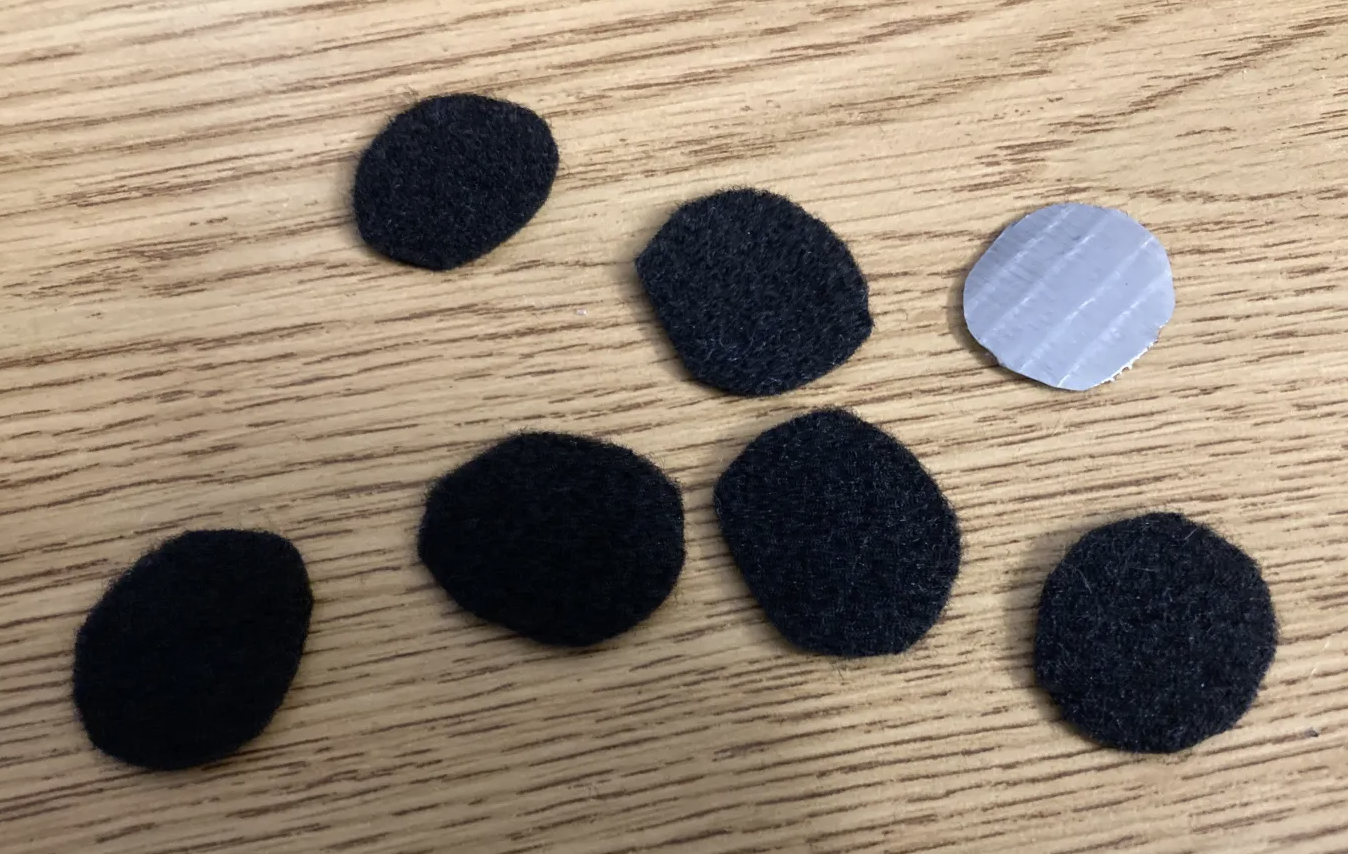
I made a template out of duct tape to make cutting them out easier.
If you are making solid muzzle dots, you can either glue them directly to your face fur or handsew them.
Gluing them is significantly quicker, but is irreversible. Pin the muzzle dots in place to find a placement you like. Cut some of the fur's pile to get better adhesion, then carefully glue them in place. Be sure to not get glue outside of the muzzle dots!
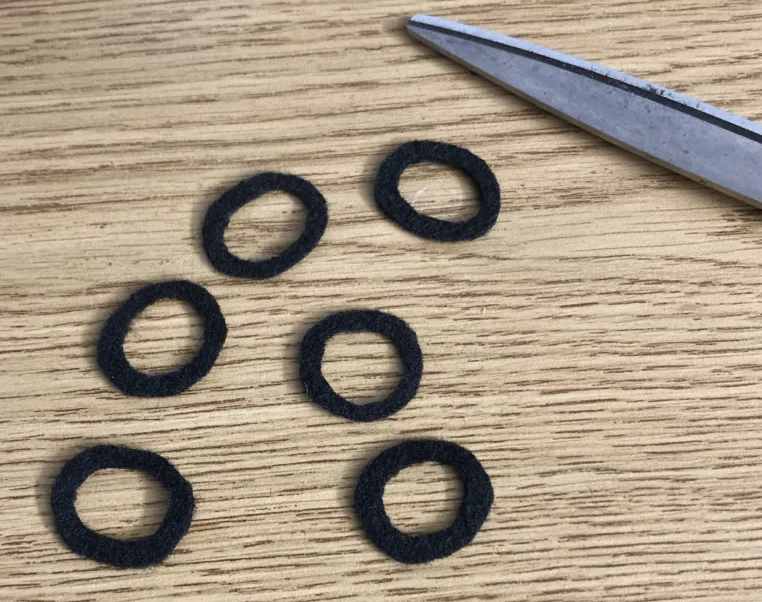
Outlined muzzle dots are very thin and difficult to glue, so I prefer sewing them. This method works for solid muzzle dots too!
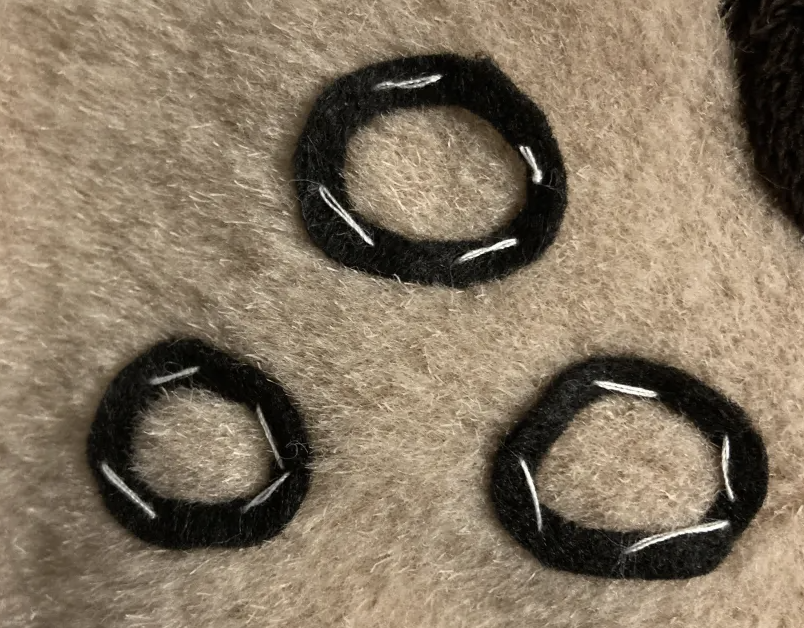
Use a long straight stitch in a contrasting color to find a placement you like and to pin them in place. I don't use pins here because basting (using stitches in place of pinning) is faster and easier to handle.
Secure the muzzle dots with a backstitch in the same color as your muzzle dots. Remove the basting stitch as you go.
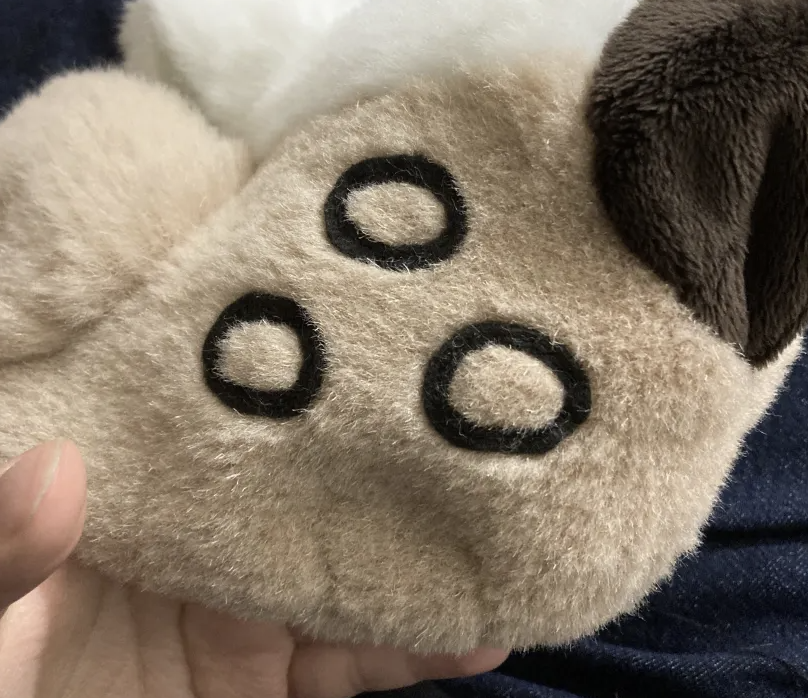
You're done! In this example I had sewn the muzzle dots on a mostly sewn face, however I would recommend sewing the muzzle dots on a flat muzzle piece without any other seams sewn yet.
Although I haven't tried it, muzzle dots can definitely be done with a satin stitch (dense zig-zag on a sewing machine) or an embroidery machine. Lots of options!

Fur muzzle dots can be treated like markings. Draw them on your duct tape pattern, cut them out of fur, cut the hole out of your main muzzle piece, and sew them in.

Felt muzzle dots can be either solid or outlined.

I made a template out of duct tape to make cutting them out easier.
If you are making solid muzzle dots, you can either glue them directly to your face fur or handsew them.
Gluing them is significantly quicker, but is irreversible. Pin the muzzle dots in place to find a placement you like. Cut some of the fur's pile to get better adhesion, then carefully glue them in place. Be sure to not get glue outside of the muzzle dots!

Outlined muzzle dots are very thin and difficult to glue, so I prefer sewing them. This method works for solid muzzle dots too!

Use a long straight stitch in a contrasting color to find a placement you like and to pin them in place. I don't use pins here because basting (using stitches in place of pinning) is faster and easier to handle.
Secure the muzzle dots with a backstitch in the same color as your muzzle dots. Remove the basting stitch as you go.

You're done! In this example I had sewn the muzzle dots on a mostly sewn face, however I would recommend sewing the muzzle dots on a flat muzzle piece without any other seams sewn yet.
Although I haven't tried it, muzzle dots can definitely be done with a satin stitch (dense zig-zag on a sewing machine) or an embroidery machine. Lots of options!
