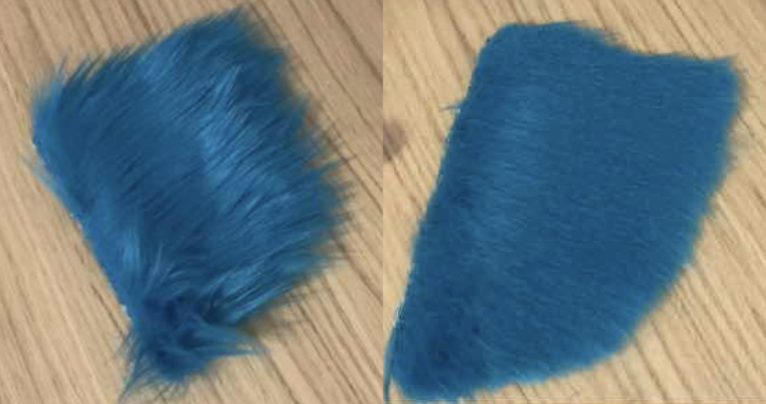
Preshaving

Preshaving means shaving long pile fur to a shorter length before sewing it. This is great for removing the bulk of the pile to make it easier to work with when sewing, and it is significantly easier to shave on a flat surface versus a complex one. It is also a lot easier to do a final cleanup shave on a fursuit head than to shave everything at once.
Table of Contents
You will need:
- High quality faux fur you want to shave
- Pet clippers
- Clipper oil
- Slicker brush
- Tissue or paper towel
- Duct tape
Prepping
Begin by oiling your clippers. Place three drops on the top of the blade (one each on the left, middle, then right), and one drop on each of the sides, where the blade goes back and forth. Turn your clippers on, then grab a tissue or paper towel to remove any previous fur residue that falls off and to gently wipe off the excess oil. Brush the fur with the slicker brush.Your clippers and fur are now prepped.
Shaving
Turn your clippers on, and press them against the fur with light pressure. Keep the blade parallel to the fur. This is your first pass, don't worry about getting everything perfect yet. You may have trouble getting the edges of the fur. We will handle these later, don't try to shave them yet.Brush the fur to loosen up some of the fibers, then begin your second pass.
Keep brushing and shaving. At this point, on your third pass, you can begin adding a little more pressure. Make sure your blade is parallel at all times to avoid the risk of bald spots (shaving the fur too close to the backing).
I did four passes on this piece until I was satisfied with the shave. Patience is key, especially on a bigger piece.
When it looks smooth enough to your liking and shaving takes off very little fur, you may move on to the next step.
Edges
The bottom edge is a bit of a blind spot for the clippers. To handle them, you will need to secure the piece down with some duct tape. Make two little loops of duct tape to secure the fur down to your workspace. Place the loops above the lower edge so they do not get in the way during shaving. Brush, then carefully shave. You may angle your clippers a little upwards, but do not angle them downwards.Remove the duct tape and flip the piece over. Shave along the side edges of your piece by keeping the blade perpendicular to the pile. For the top edge, angle your blade slightly downwards. You may find manipulating the fur with your fingers to be helpful.
Fade Pieces and Planning Ahead
You may have noticed the top edge of the fur fades the short into the long really nicely. You can use this to your advantage if you want a smooth fade on a fursuit head's cheeks! I call these pieces with untrimmed top edges fade pieces, and I will intentionally angle my blade upwards towards the upper edge to accentuate the fade.Usually when I preshave, I handle my fade pieces completely separately from my other pieces. Most of my fur pieces get traced onto one big piece of fur, then preshaved in one big batch so I don't have to worry about the edges. Then I cut out the pieces after I finish preshaving. On this big batch, I have a margin between the edges of my pieces I want to cut and the edge of the piece of fur, to make sure they are uniform when cut.
My fade pieces are handled in a separate batch. I will still usually have a margin on the bottom and sides, but the top will not have a margin. This way I can have more control over the fade.
Planning, practice, and patience will yield a perfect preshave!
Back to top
