Simple Four-Finger Handpaw Tutorial
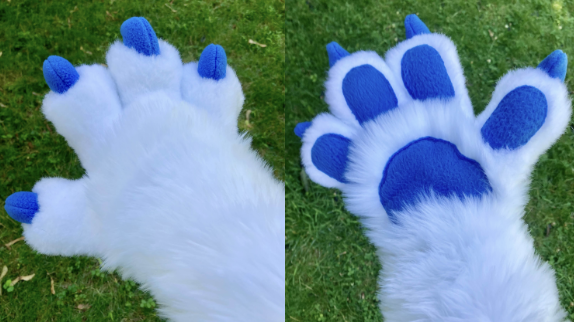
Make your own set of four-finger handpaws with my pattern and tutorial!
Before starting this tutorial, I recommend having a bit of faux fur experience to get yourself used to sewing and faux fur. This is a beginner-friendly pattern, but I recommend having made at least a tail before trying a pair of handpaws.
You will need:
- About half a yard of faux fur
- About a quarter of a yard of your pawpad and claw material (minky, fleece, vinyl, etc)
- Poly-fil stuffing
- Needle and thread (sewing machine optional but recommended)
- Scissors (X-acto knife optional but recommended)
- Pins or sewing clips
- Clippers
- Optional: trimming shears
Preshave the fur for the fingers before cutting any of the fur for them. I used an already short fur so this wasn't necessary for me.
Trace each non-claw piece onto faux fur and cut. You should have four of each piece, two flipped. Cut out the paw pads from the paper pattern, and trace the paw pad shapes onto the faux fur. Do not cut the paw pads on the fur.
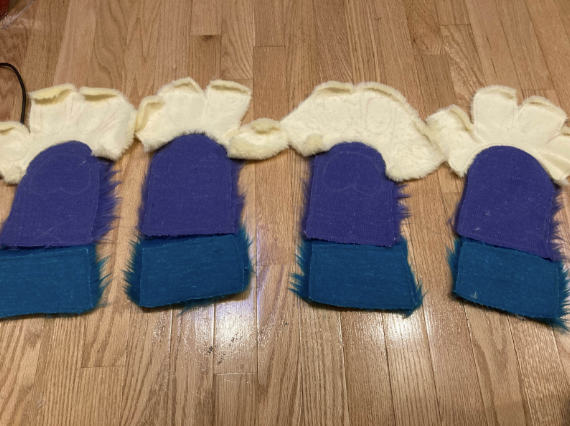
Let's break down how this works:
The simple tail from the tail tutorial was kind of like a pillow. It was one shape that was mirrored, and then the two sides were sewn together inside out.
This uses that same “pillow” idea, but with a more complicated shape, the wrist open, and your hand acting as most of the stuffing!
Since we have opposable thumbs on these paws, there is a designated left paw and a right paw, and a designated paw pad side and a claw side.
So we need one of each combination: left paw pads, left claws, right paw pads, right claws. You should have a left paw with the paw pads drawn on, a right paw with the paw pads drawn on, and one of each without any paw pads drawn on.
I recommend labeling each piece descriptively, such as “left claws”.
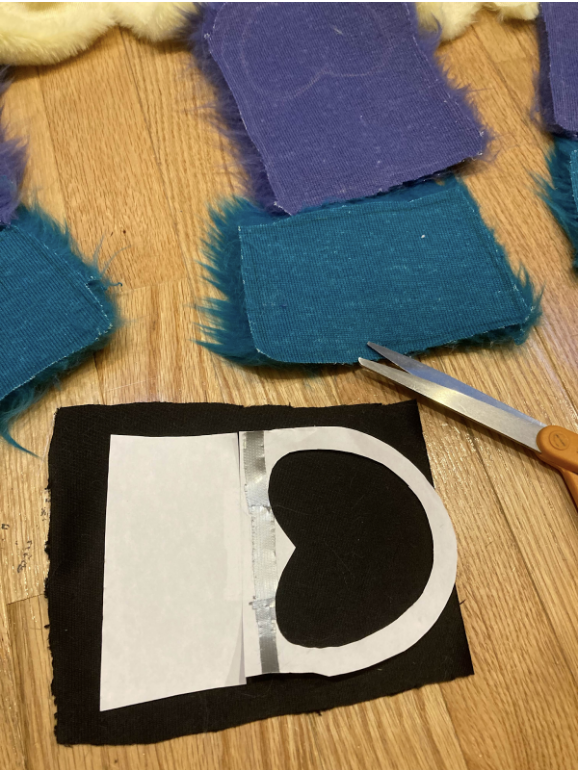
Cut out a decent-sized piece of your paw pad material. Clip it to your palm piece. I like having my minky pile face upwards, towards the tips of the fingers. We are going to use a technique called applique, which means sewing a smaller piece of fabric onto a bigger one.
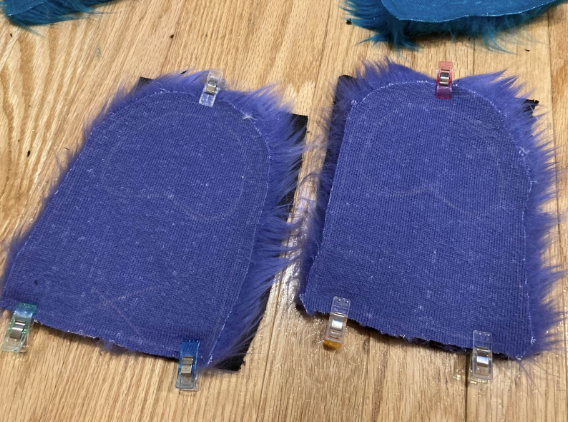
Carefully sew around the traced edge. I used my sewing machine, but theoretically this could be done with a backstitch. If you mess up with your machine, unfortunately you will need to use your seam ripper to undo it and try again!
Sewing from the back provides more control over the placement and shape of the paw pads.
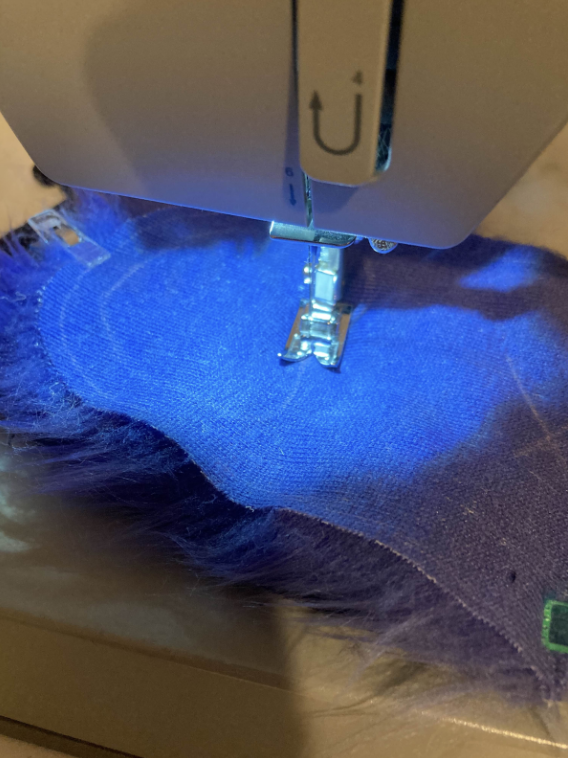
This is what it should look like.
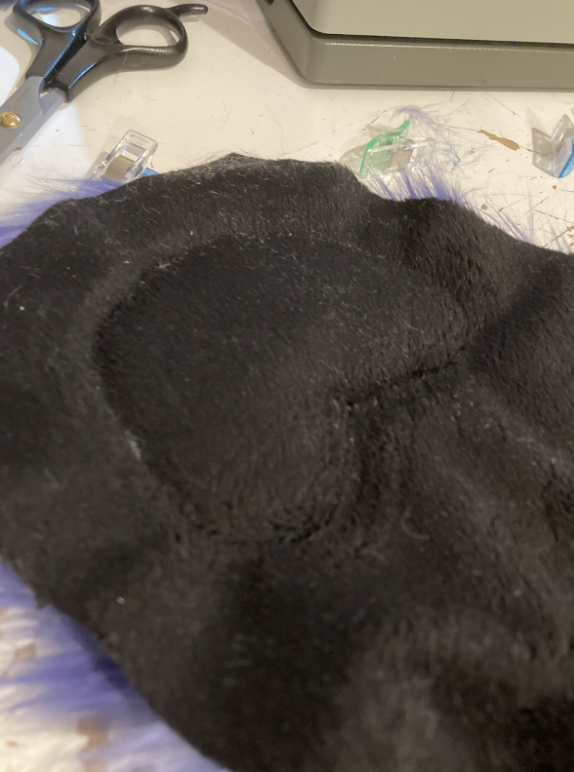
Do a rough cut with your scissors to remove the bulk of the fabric.
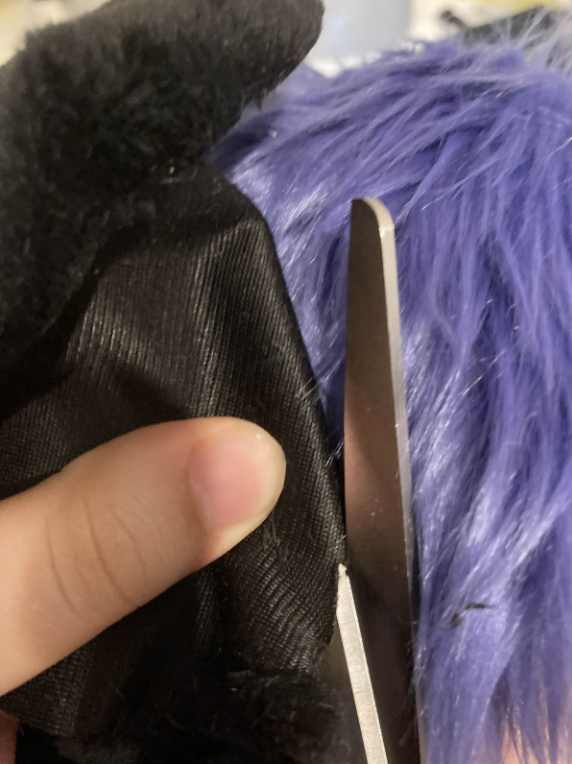
Then, refine the cut with smaller and more precise snips.
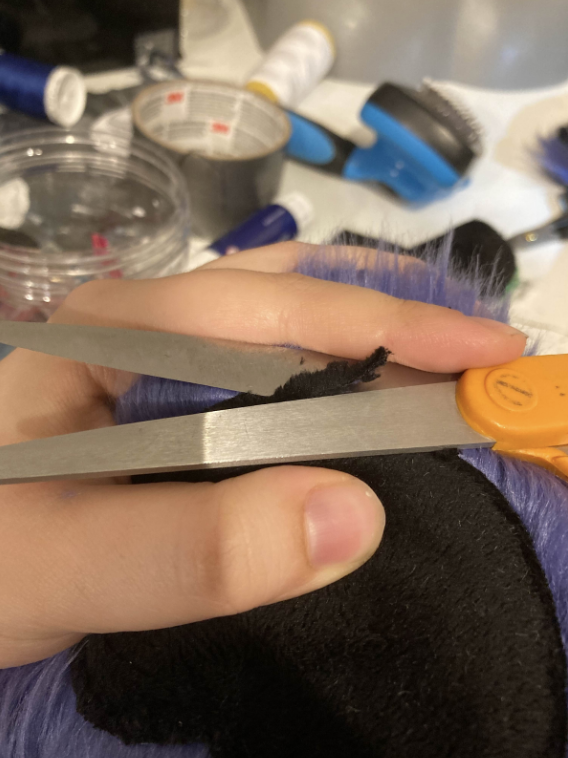
There was a lot of fur trapped in my seam. I brushed it out and trimmed it with scissors for a clean look!
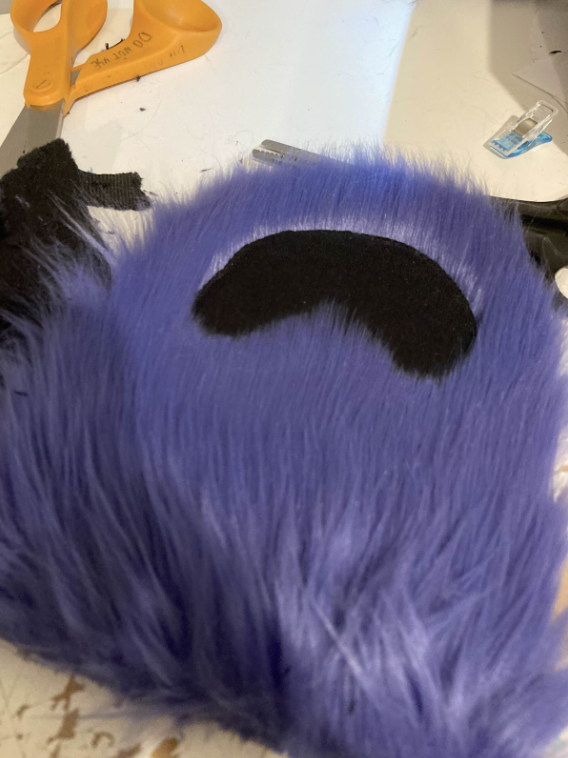
If you would like your paw pads to have a little puffiness to them, you can stuff them with poly-fil. I did it with these paws but I didn't think it was necessary on the white paws I did. To stuff them, make an incision on the back of the pad, being careful not to cut the paw pad fabric.
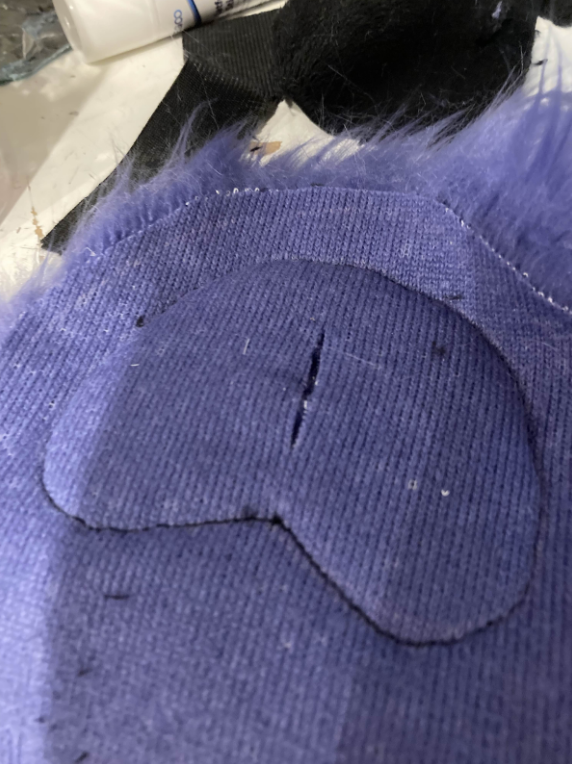
Stuff until your liking, then close the seam with a ladder stitch.
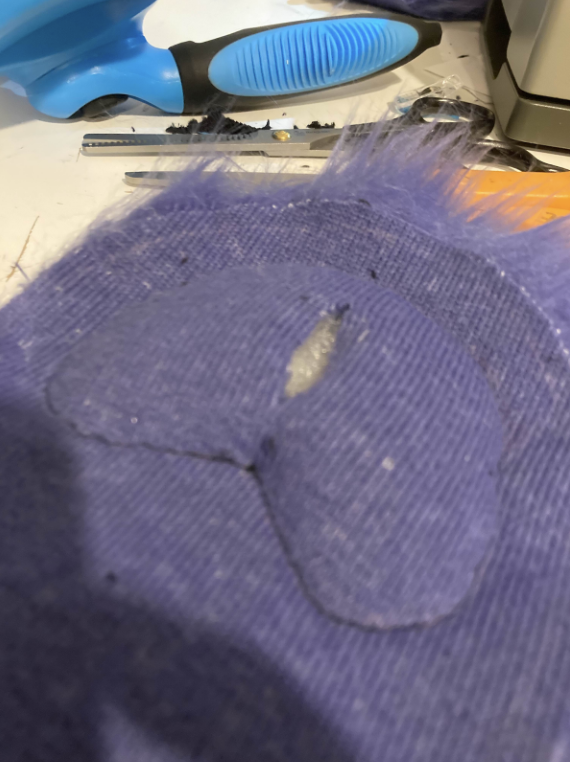
Repeat this process with *all* the other paw pads. This is a tedious step! Sew any markings you have as well, including the finger-to-palm divide if you wanted it.
Sew just this part to connect the front to the back.
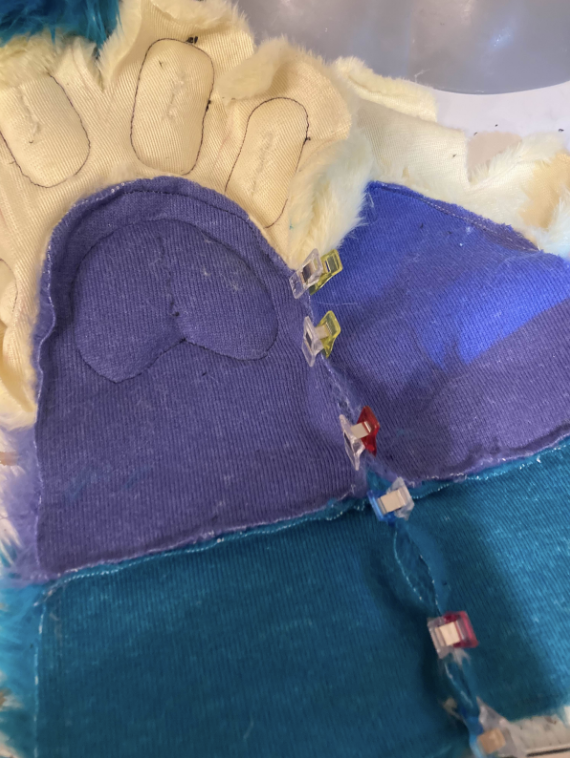
Add your cuff at this stage.
Once your cuff is added, pin or clip the rest of the two halves together.
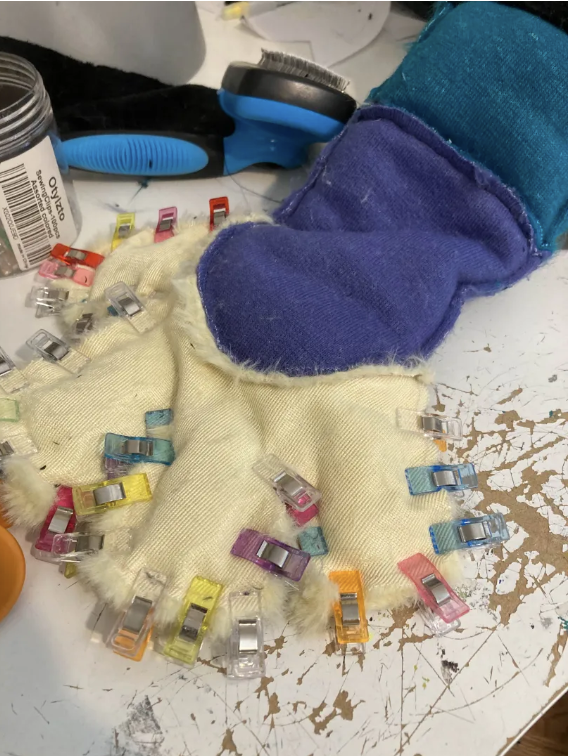
Carefully sew. I machine sewed this part, but you can handsew it with a blanket stitch if you are more comfortable with that. Check your work to make sure all of the parts are sewn together.
Turn each paw inside out.
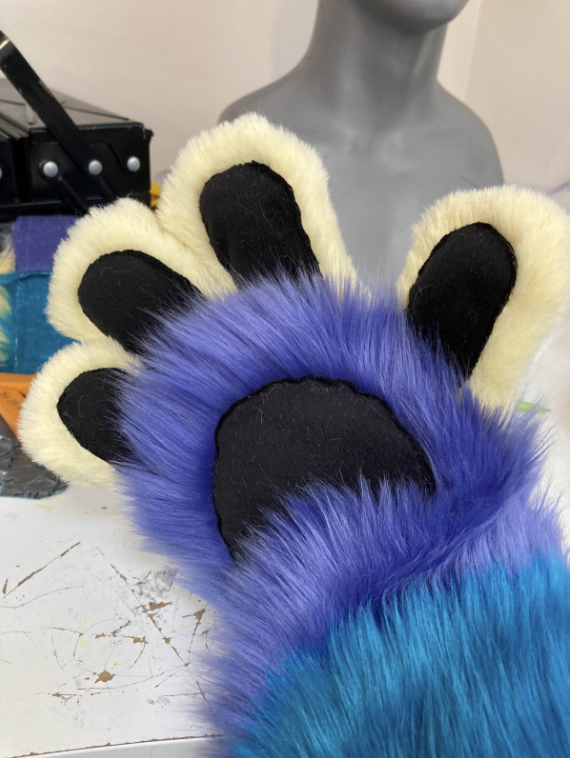
You can trim things up if desired or call it done!
If you would like claws, I recommend following Matrices' tutorial for handsewn claws. You may also stuff the fingers with poly-fil. I did this on the white paws, but not the colorful ones shown. Since the white paws were a personal pair I didn't care all too much about lining and simply stuffed them. However, you can make small pillows out of lycra by cutting each finger off from the pattern, sewing around most of the perimeter, turning them inside out, stuffing them, and sewing up that open edge.
Enjoy your new paws!
Back to top
