
How to Make a Simple Tail
Tails are a great first project for getting into fursuit making! They're simple to make and are fun to wear around.
This tutorial is aimed for people who may not have a lot of crafting experience. However, this tutorial assumes you have faux fur knowledge (or have looked at my all about faux fur guide). This is a simple tail and omits features such as maintenance zippers, gussets, tail bases, or bodysuit attachment zippers. Keeping it nice and easy here!
Let's begin!
Table of Contents
You will need:
- About half a yard of faux fur
- Poly-fil stuffing
- Scissors
- Needle and thread
- Nylon webbing
- Anti-fray OR a lighter
- Pencil
- Pins or clips (I recommend clips)
Optional:
- X-acto knife (recommended)
- Sewing machine (helpful, but not necessary)
Planning
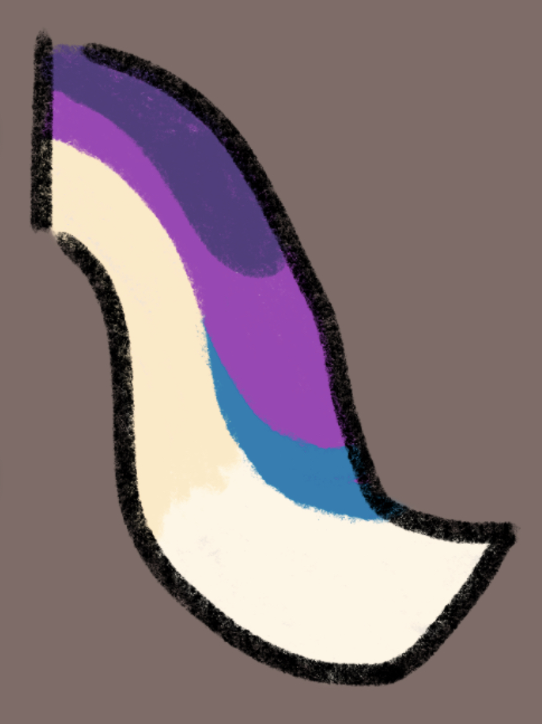
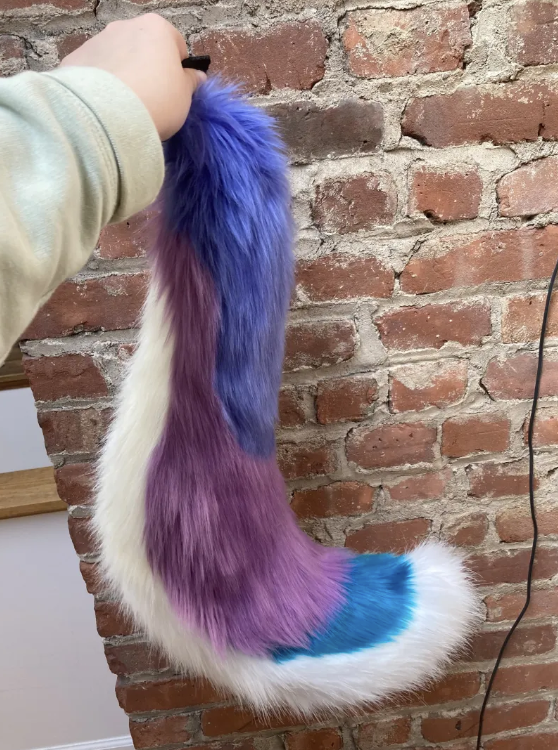
I'm making a canine tail that was inspired by Wildberry Pop-Tarts. On my phone, I did a rough sketch of the shape and design I wanted.
I wanted the fur on the bottom of my tail to be longer than the top. I chose deluxe fox for the white and cream, and luxury shag for the top.
Making the Pattern
I have the pattern I used for free here!You can follow along with the pattern I made, or make your own like I did:
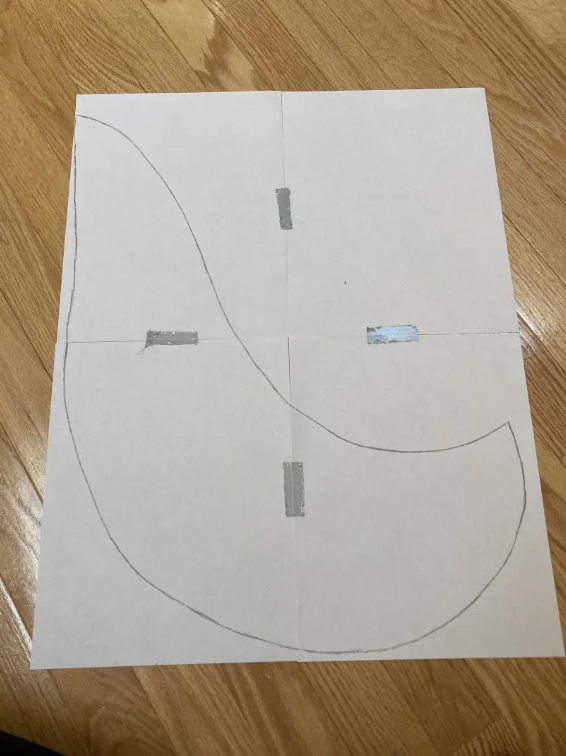
I taped some sheets of printer paper together and drew my desired shape. I ended up not using the top right piece, so I untaped it and saved it to use for something else. If you are drawing your own pattern, be mindful that the final tail will look thinner than your drawn pattern due to the fur curving from the stuffing.
I drew all the markings I wanted, arrows pointing to the tip of the tail for fur direction, the colors of each marking, and some alignment marks to help put the pieces together.
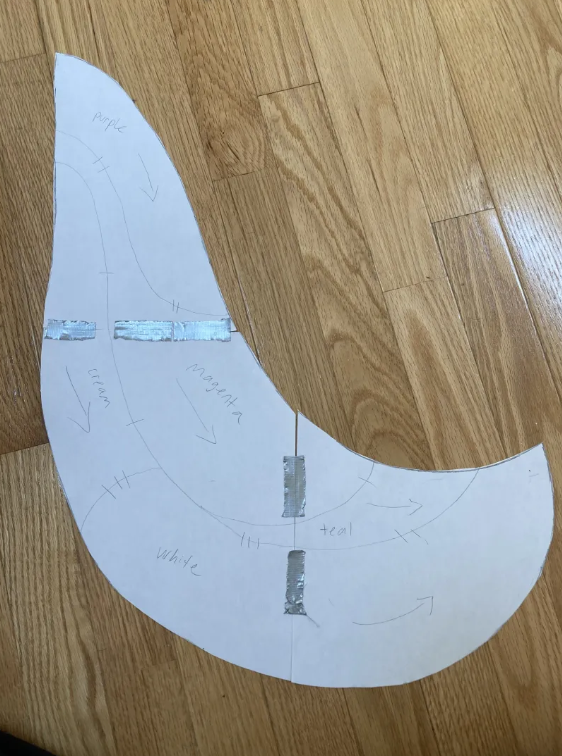
If you don't have any markings, you can just put a big arrow to the tip!
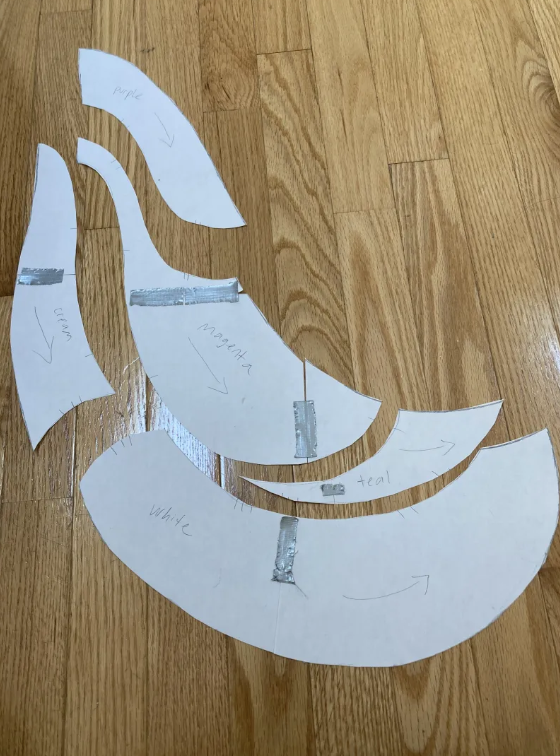
Cut all the markings.
If you have a tail with asymmetrical markings, you will need to copy your tail shape pattern and flip it.
Cutting
Trace each marking onto faux fur (check the fur direction first, make sure it matches!). Flip each piece and trace it again for the other side of the tail. I like to place an X on the non-flipped pieces.For asymmetrical tails, trace all pieces with the text down, do not flip any of them over.
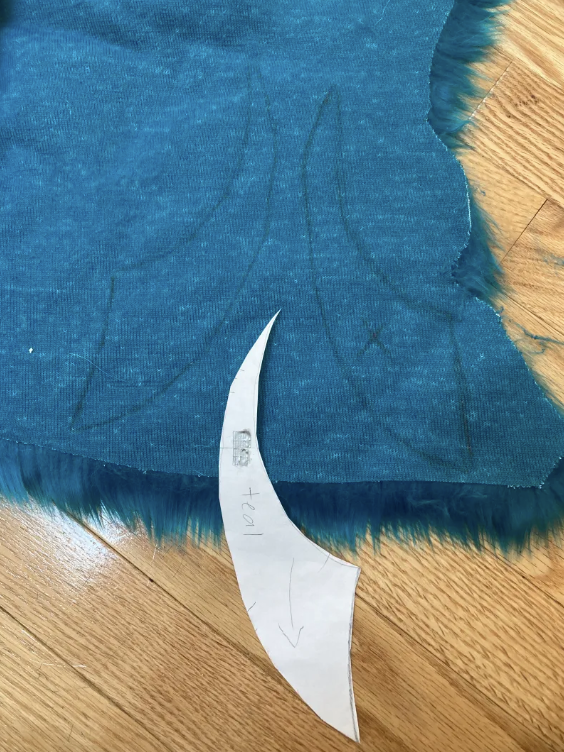
If you are using scissors to cut out your fur, make very tiny snips a few millimeters from where you traced. Cutting with big snips risks cutting the fur fibers.
If you are using an x-acto knife, try not to cut with too much pressure! Otherwise you might also hit the fur fibers.
The extra space that is left around the line drawn is called seam allowance. It is especially important for machine sewing. A sewing machine will always "eat" some of the fabric, meaning the seam allowance will never be seen when the sewn object is turned right side out. Having seam allowance is like a margin of error.
Cut all the pieces out. Time to sew!
Sewing
If you don't have access to a sewing machine, I have a handsewing tutorial here. I did one seam by hand for that tutorial, and machine sewed the rest.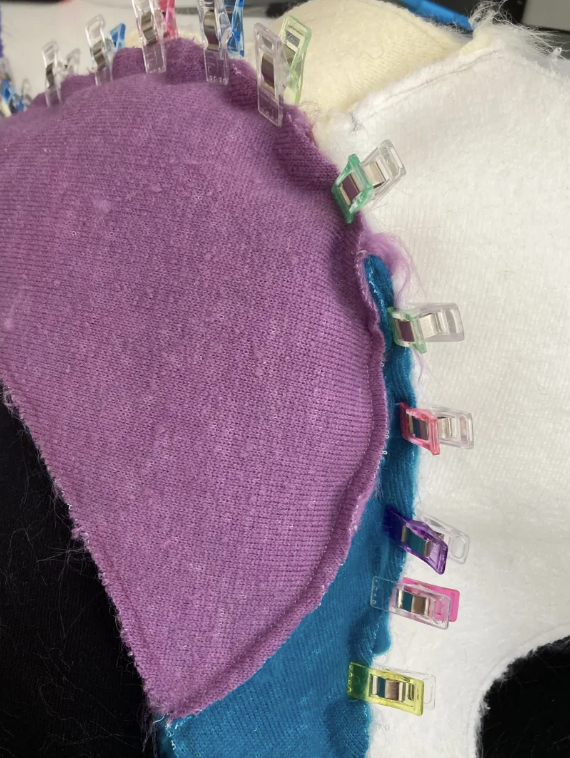
Clip your pieces together while sewing to keep them in place. Make sure to tuck the fur fibers out of the seams.
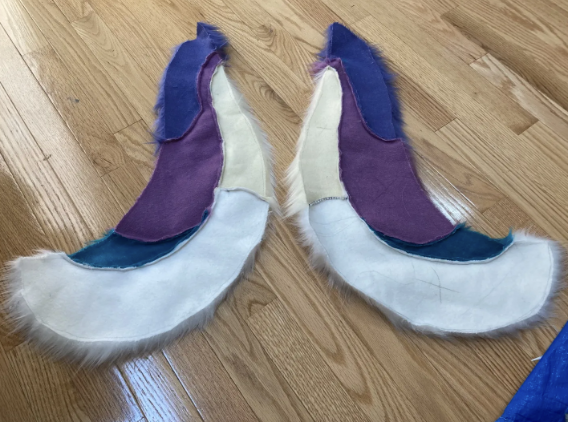
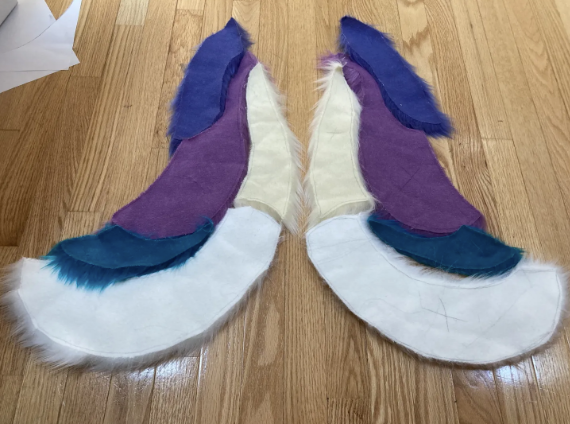
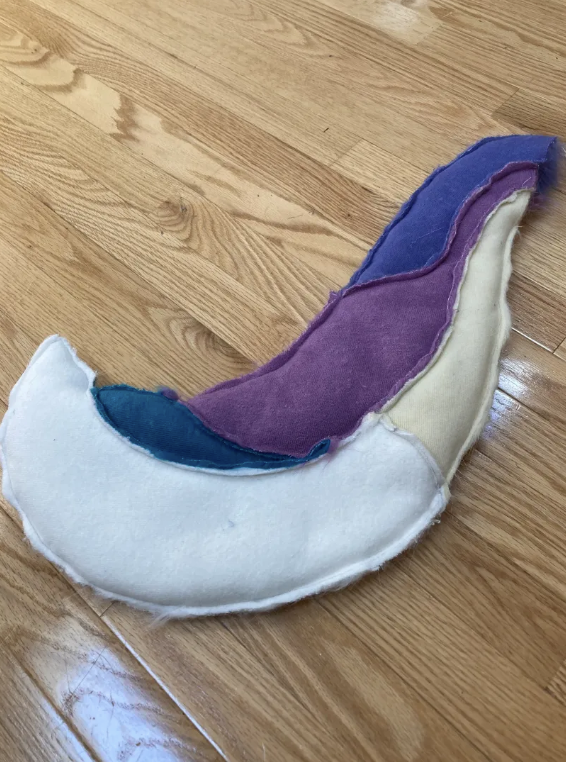
You should have something like this when you're done, but with your character's markings!
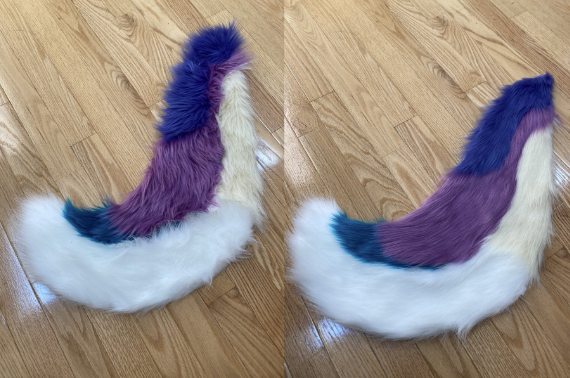
Brush out each side of the tail.
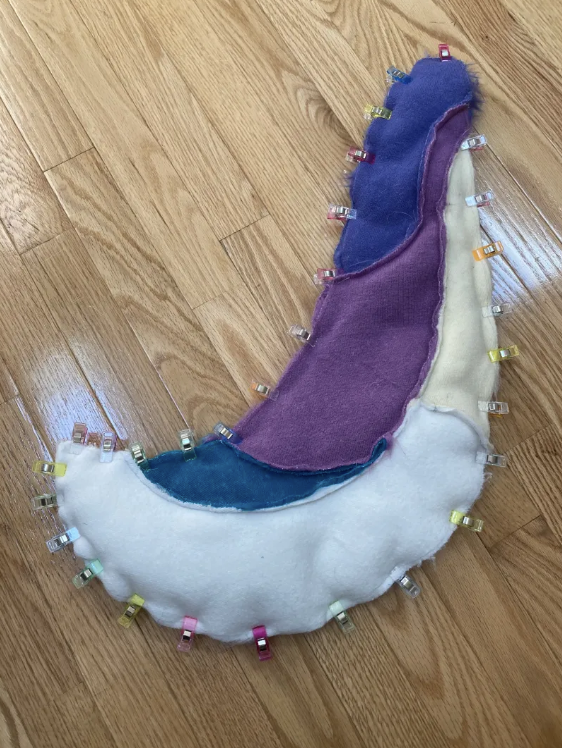
Sandwich the two sides on top of each other with the fur on the inside. Clip or pin the two sides together. Take extra caution to tuck the fur fibers in here, especially at the tip.
Sew along the edge. Leave a gap on the underside. Your fist should be able to comfortably be able to fit inside the gap. Almost there!
Finishing
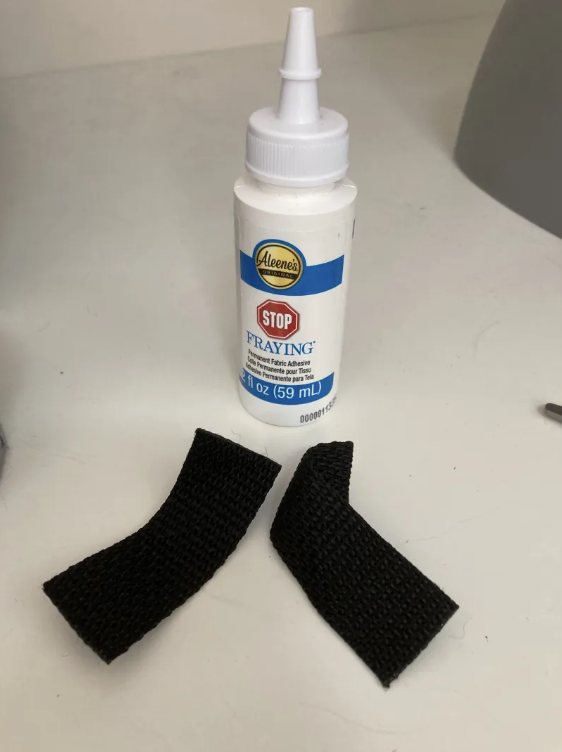
I use nylon webbing for my belt loops. The edges fray, so I either use fray adhesive or a lighter. Cut two pieces of nylon webbing that are big enough to fit a belt when folded in half. For fray adhesive, squeeze a line at each edge. For a lighter, *carefully* hold up the flame to the edge of the nylon webbing, only enough to melt the edges. This is best done outside or in a well-ventilated area, please do not breathe the fumes in!
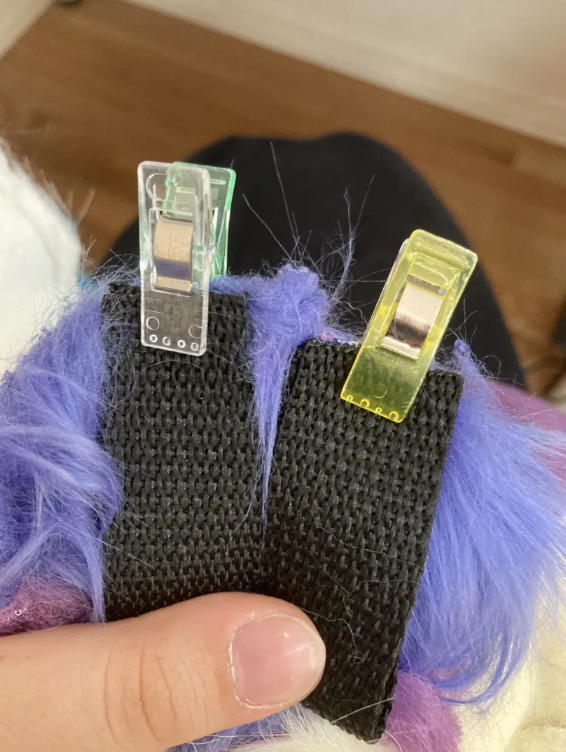
Clip the folded belt loops onto the fur side of the top edge. Sew.
Turn the tail inside out.
Fill the tail moderately with poly-fil.
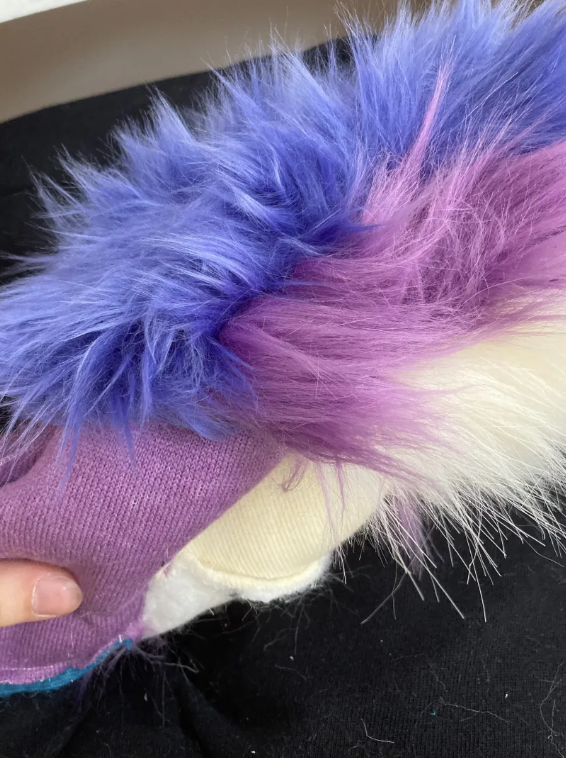
Time to fold the edge and sew! This is a tricky part to explain, so I filmed a video demonstrating me clipping it. Basically, we are folding the fur over the belt loop so it meets in the center.
Here is an alternate visual explanation, this time in Blender:
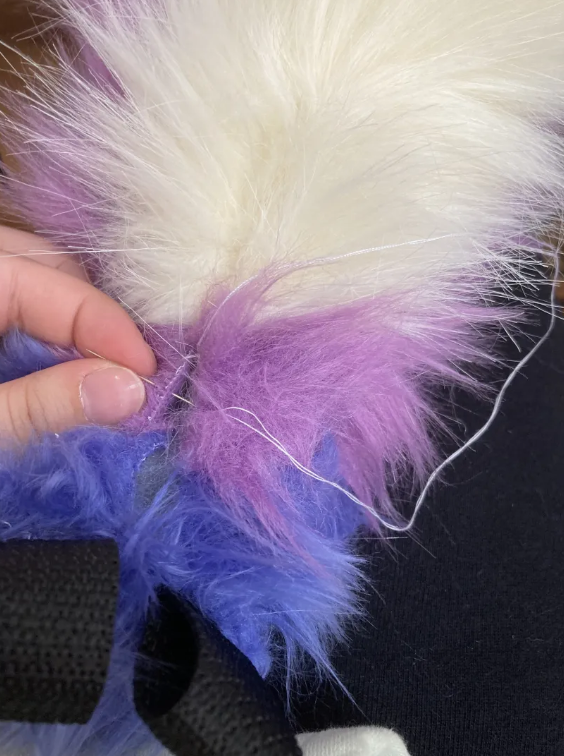
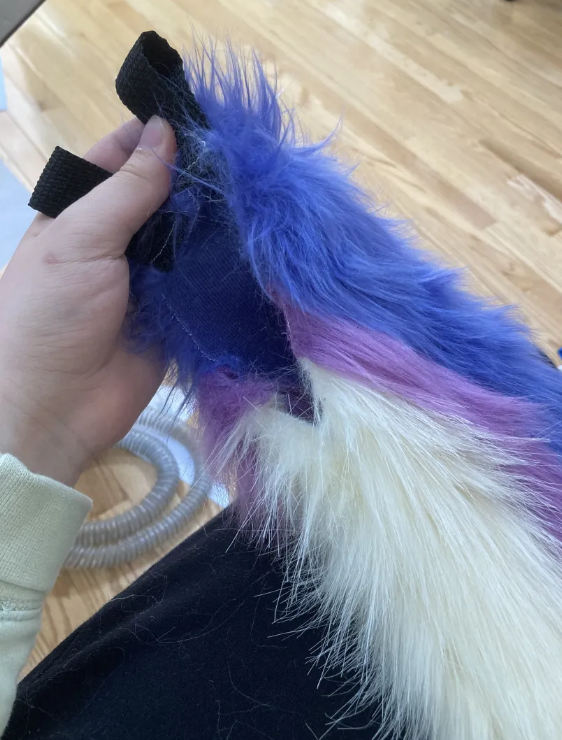
Once you have everything pinned or clipped, you can sew up the gap. This is a relatively hidden seam and I used long pile fur, so I blanket stitched it closed.
ALL DONE!!! You made a tail! Go and show it off!
Back to top